Point Clouds
View and analyse LAS and LAZ point clouds in Lunr's browser-based point cloud viewer, with tools for navigation, measurement, clipping, visualisation, saved viewpoints, and scene management.
Overview
A point cloud is a set of 3D points captured from a survey or scan, for example by laser scanning or photogrammetry. Each point records a position in space, and often extra attributes such as colour, laser intensity, and a classification.
Lunr displays LAZ and LAS point clouds directly in the browser using the point cloud viewer, so there is no desktop software to install.
Point clouds open in your browser with no plugin or download required.
Opening a Point Cloud
Open a point cloud document from the repository the same way as any other document.
The first time a point cloud is opened, it is prepared for viewing. You may briefly see queued and processing states while this happens, and generation typically takes 1 to 5 minutes. Once the cloud is ready, the viewer opens.
Viewer Overview
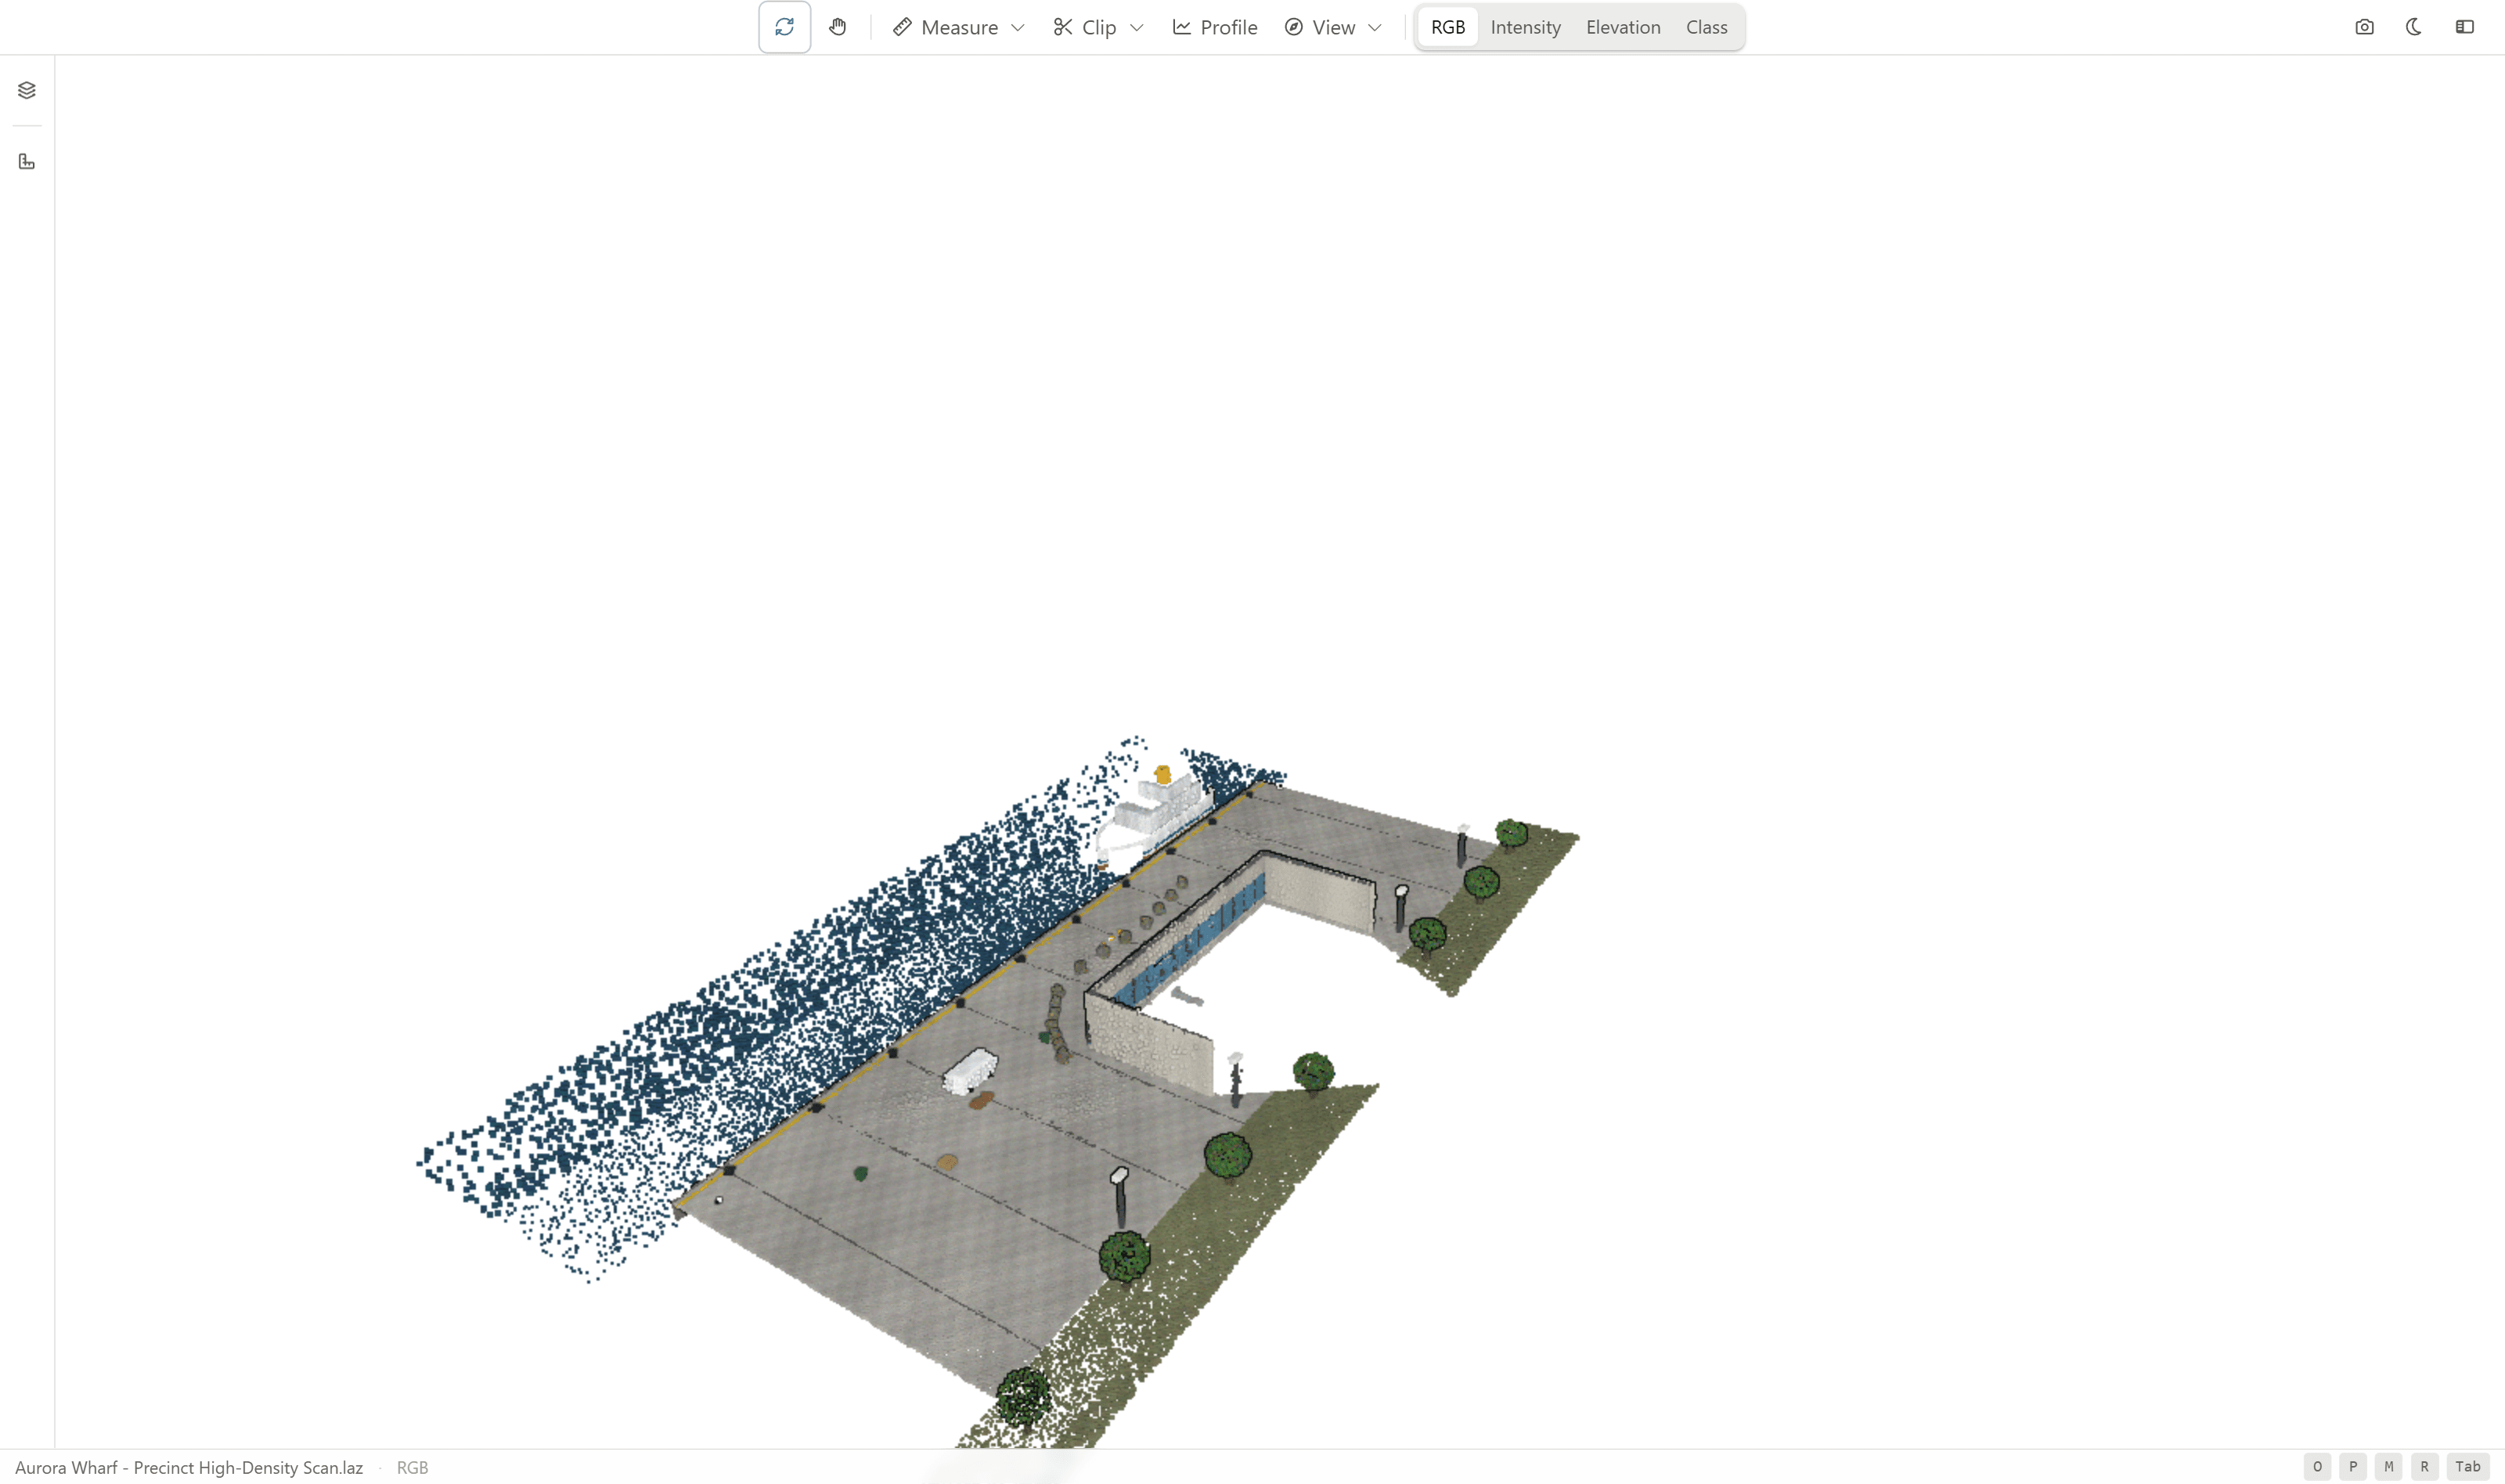
The viewer fills the browser window, with a toolbar across the top and two side panels for scenes and measurements.
Toolbar
The toolbar holds the tools you use most often.

- The Orbit and Pan navigation tools control how you move around the cloud.
- The Measure, Clip, Cross-Section Profile, and View tool groups open the related tools.
- A colour control switches how points are coloured: RGB, Intensity, Elevation, and Class.
- On the right are the Screenshot button, a light and dark theme toggle, and the Settings button.
Panels
Side panels give you more control:
- The Scenes panel lists the point clouds in the document.
- The Viewpoints panel stores camera positions you want to return to.
- The Measurements panel lists the measurements you have taken.
Navigation
Use the Orbit tool to rotate around the cloud, and the Pan tool to move around the scene.
Open the View controls to jump to a preset view, fit the cloud to the screen, or change the camera.

- Choose a preset view: Top, Bottom, Front, Back, Left, or Right.
- Use Fit to screen to frame the whole cloud.
- Switch between the perspective (Persp) and orthographic (Ortho) cameras.
Colouring Points
The colour control recolours the points by attribute:
- RGB shows the true colour captured with the scan.
- Intensity shows the strength of the laser return.
- Elevation shows height.
- Class shows the LAS classification, such as Ground, Building, and Vegetation.
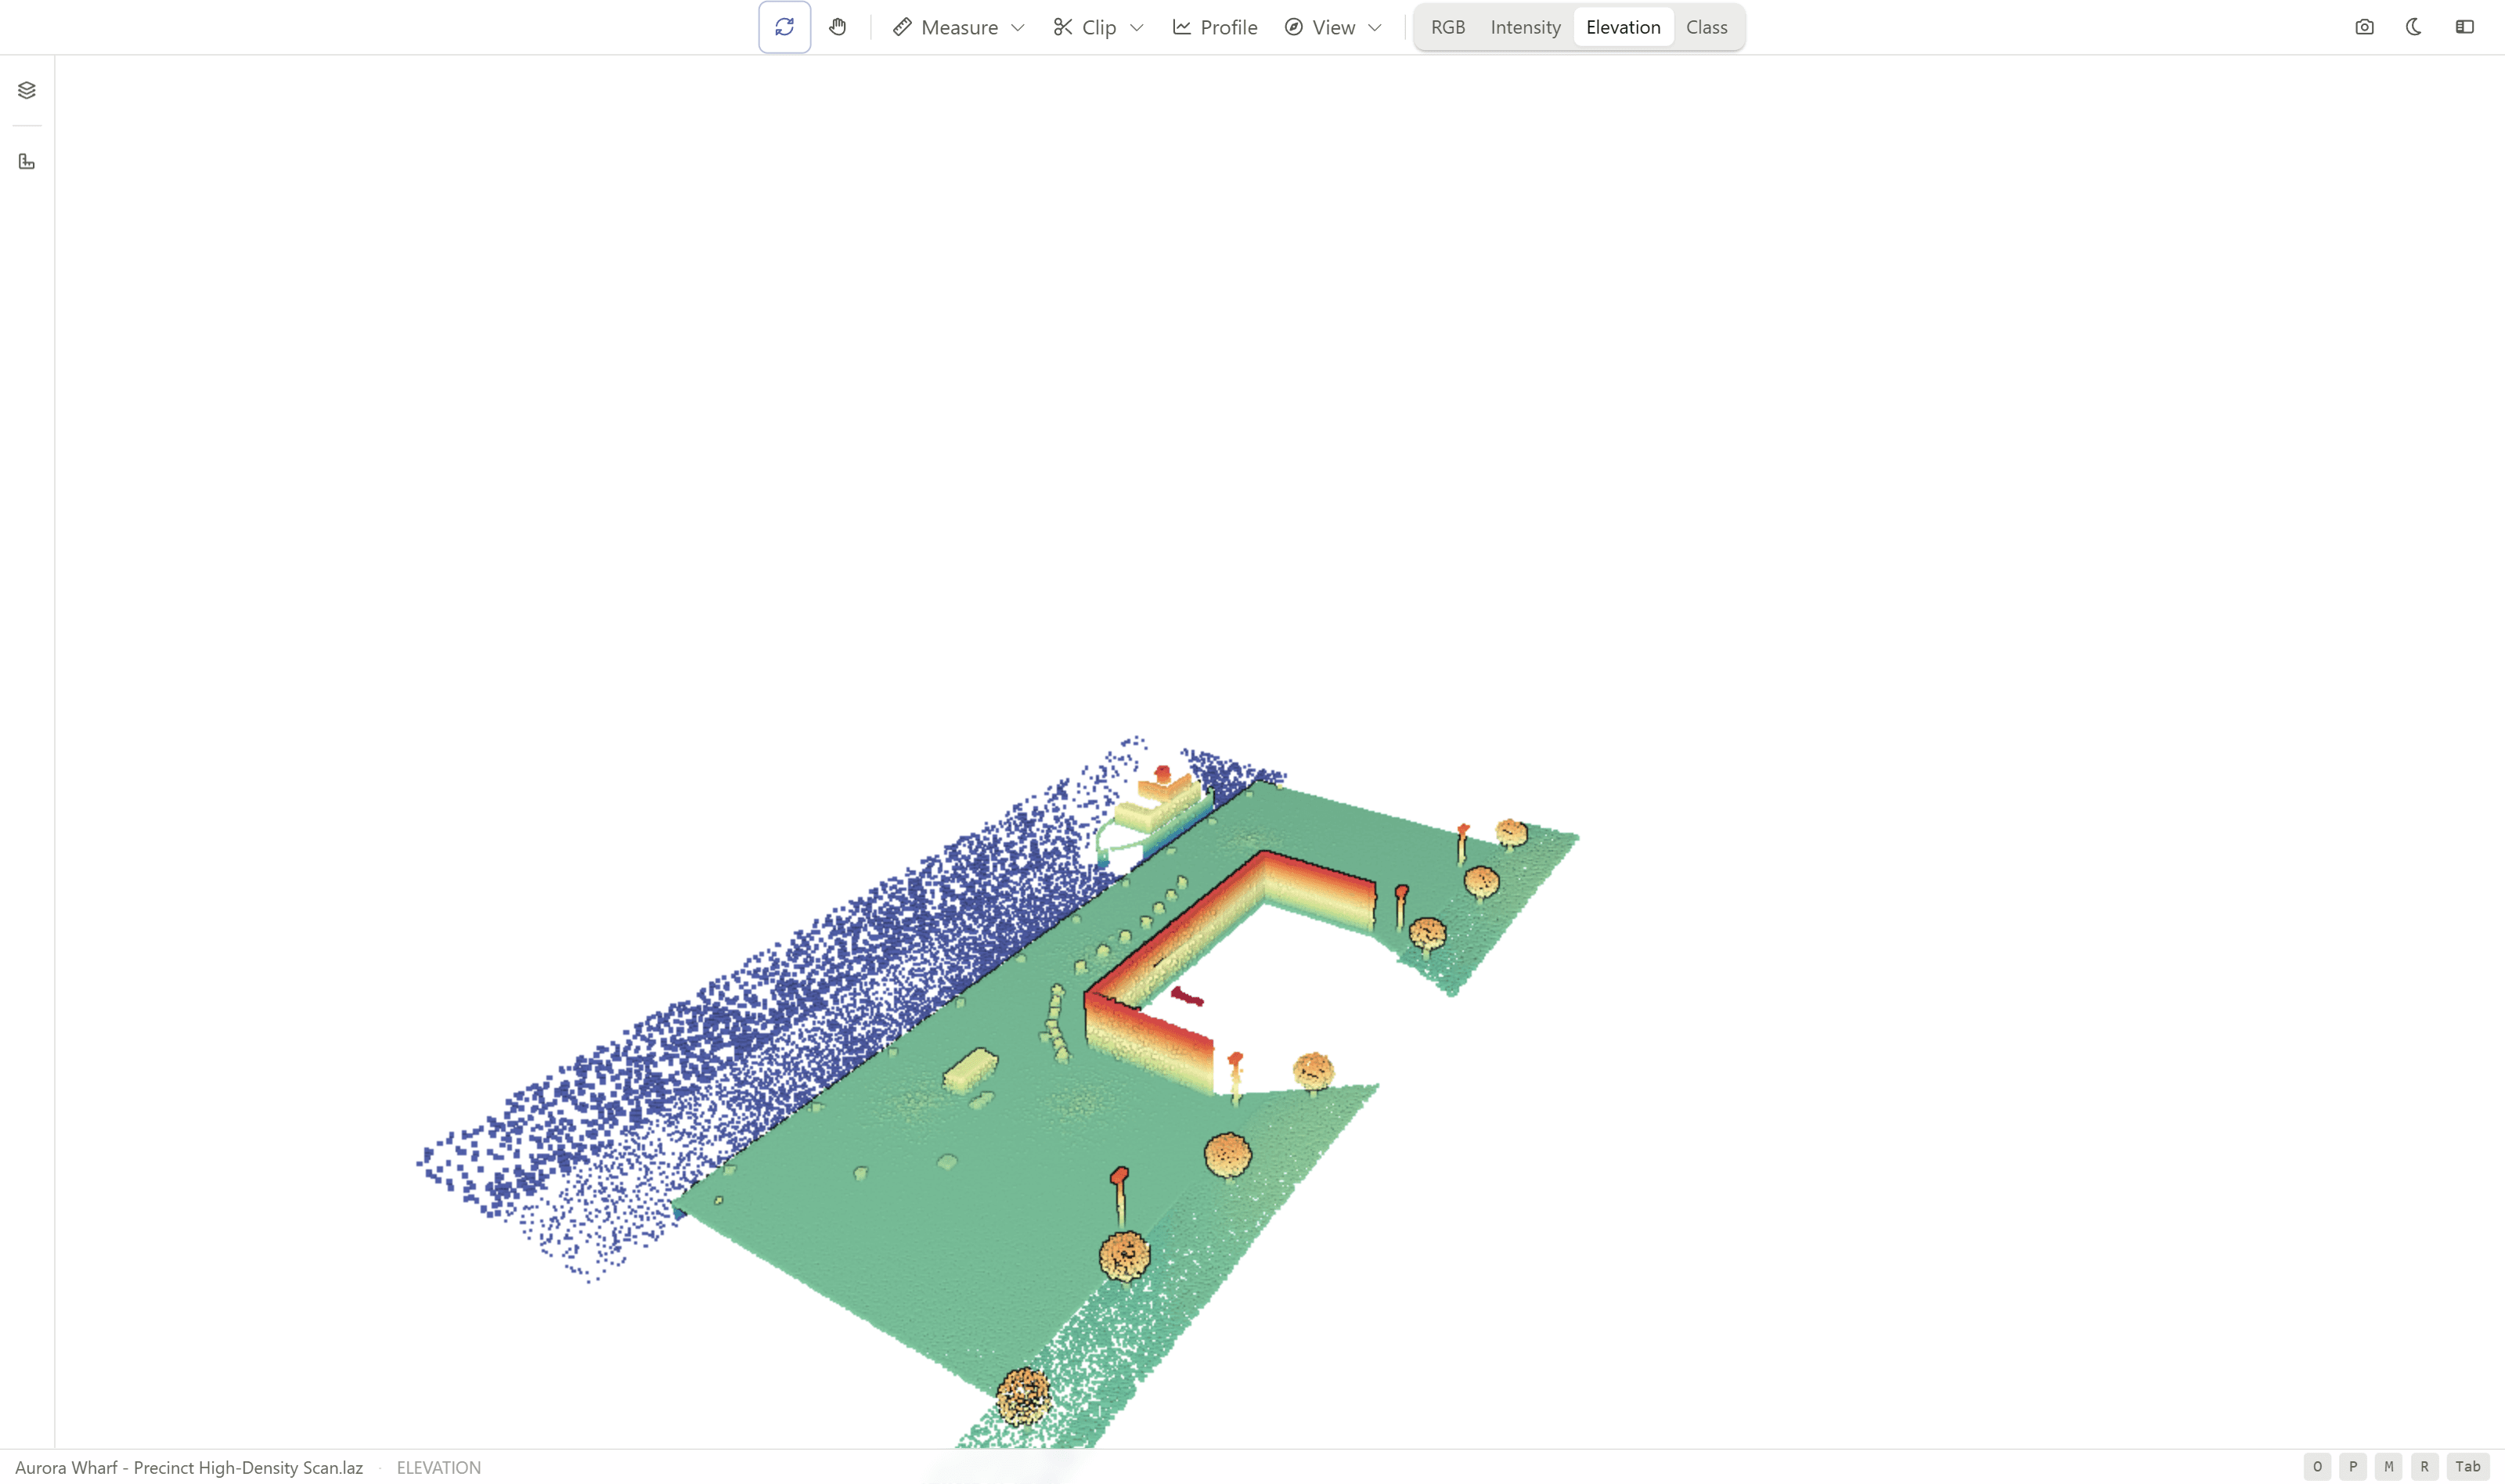
More attributes and fine-tuning options are available in Settings.
Measurements
Open the Measure group to measure the cloud. You can measure Distance, Area, Angle, Height, Point, Circle, and Azimuth.

To take a measurement, pick a tool from the Measure group, then click points directly on the point cloud surface to place markers. Each point snaps to the nearest scanned point. Every measurement you make appears in the Measurements panel, where you can zoom to it, rename it, or remove it. You can also export measurements to GeoJSON.
Distance
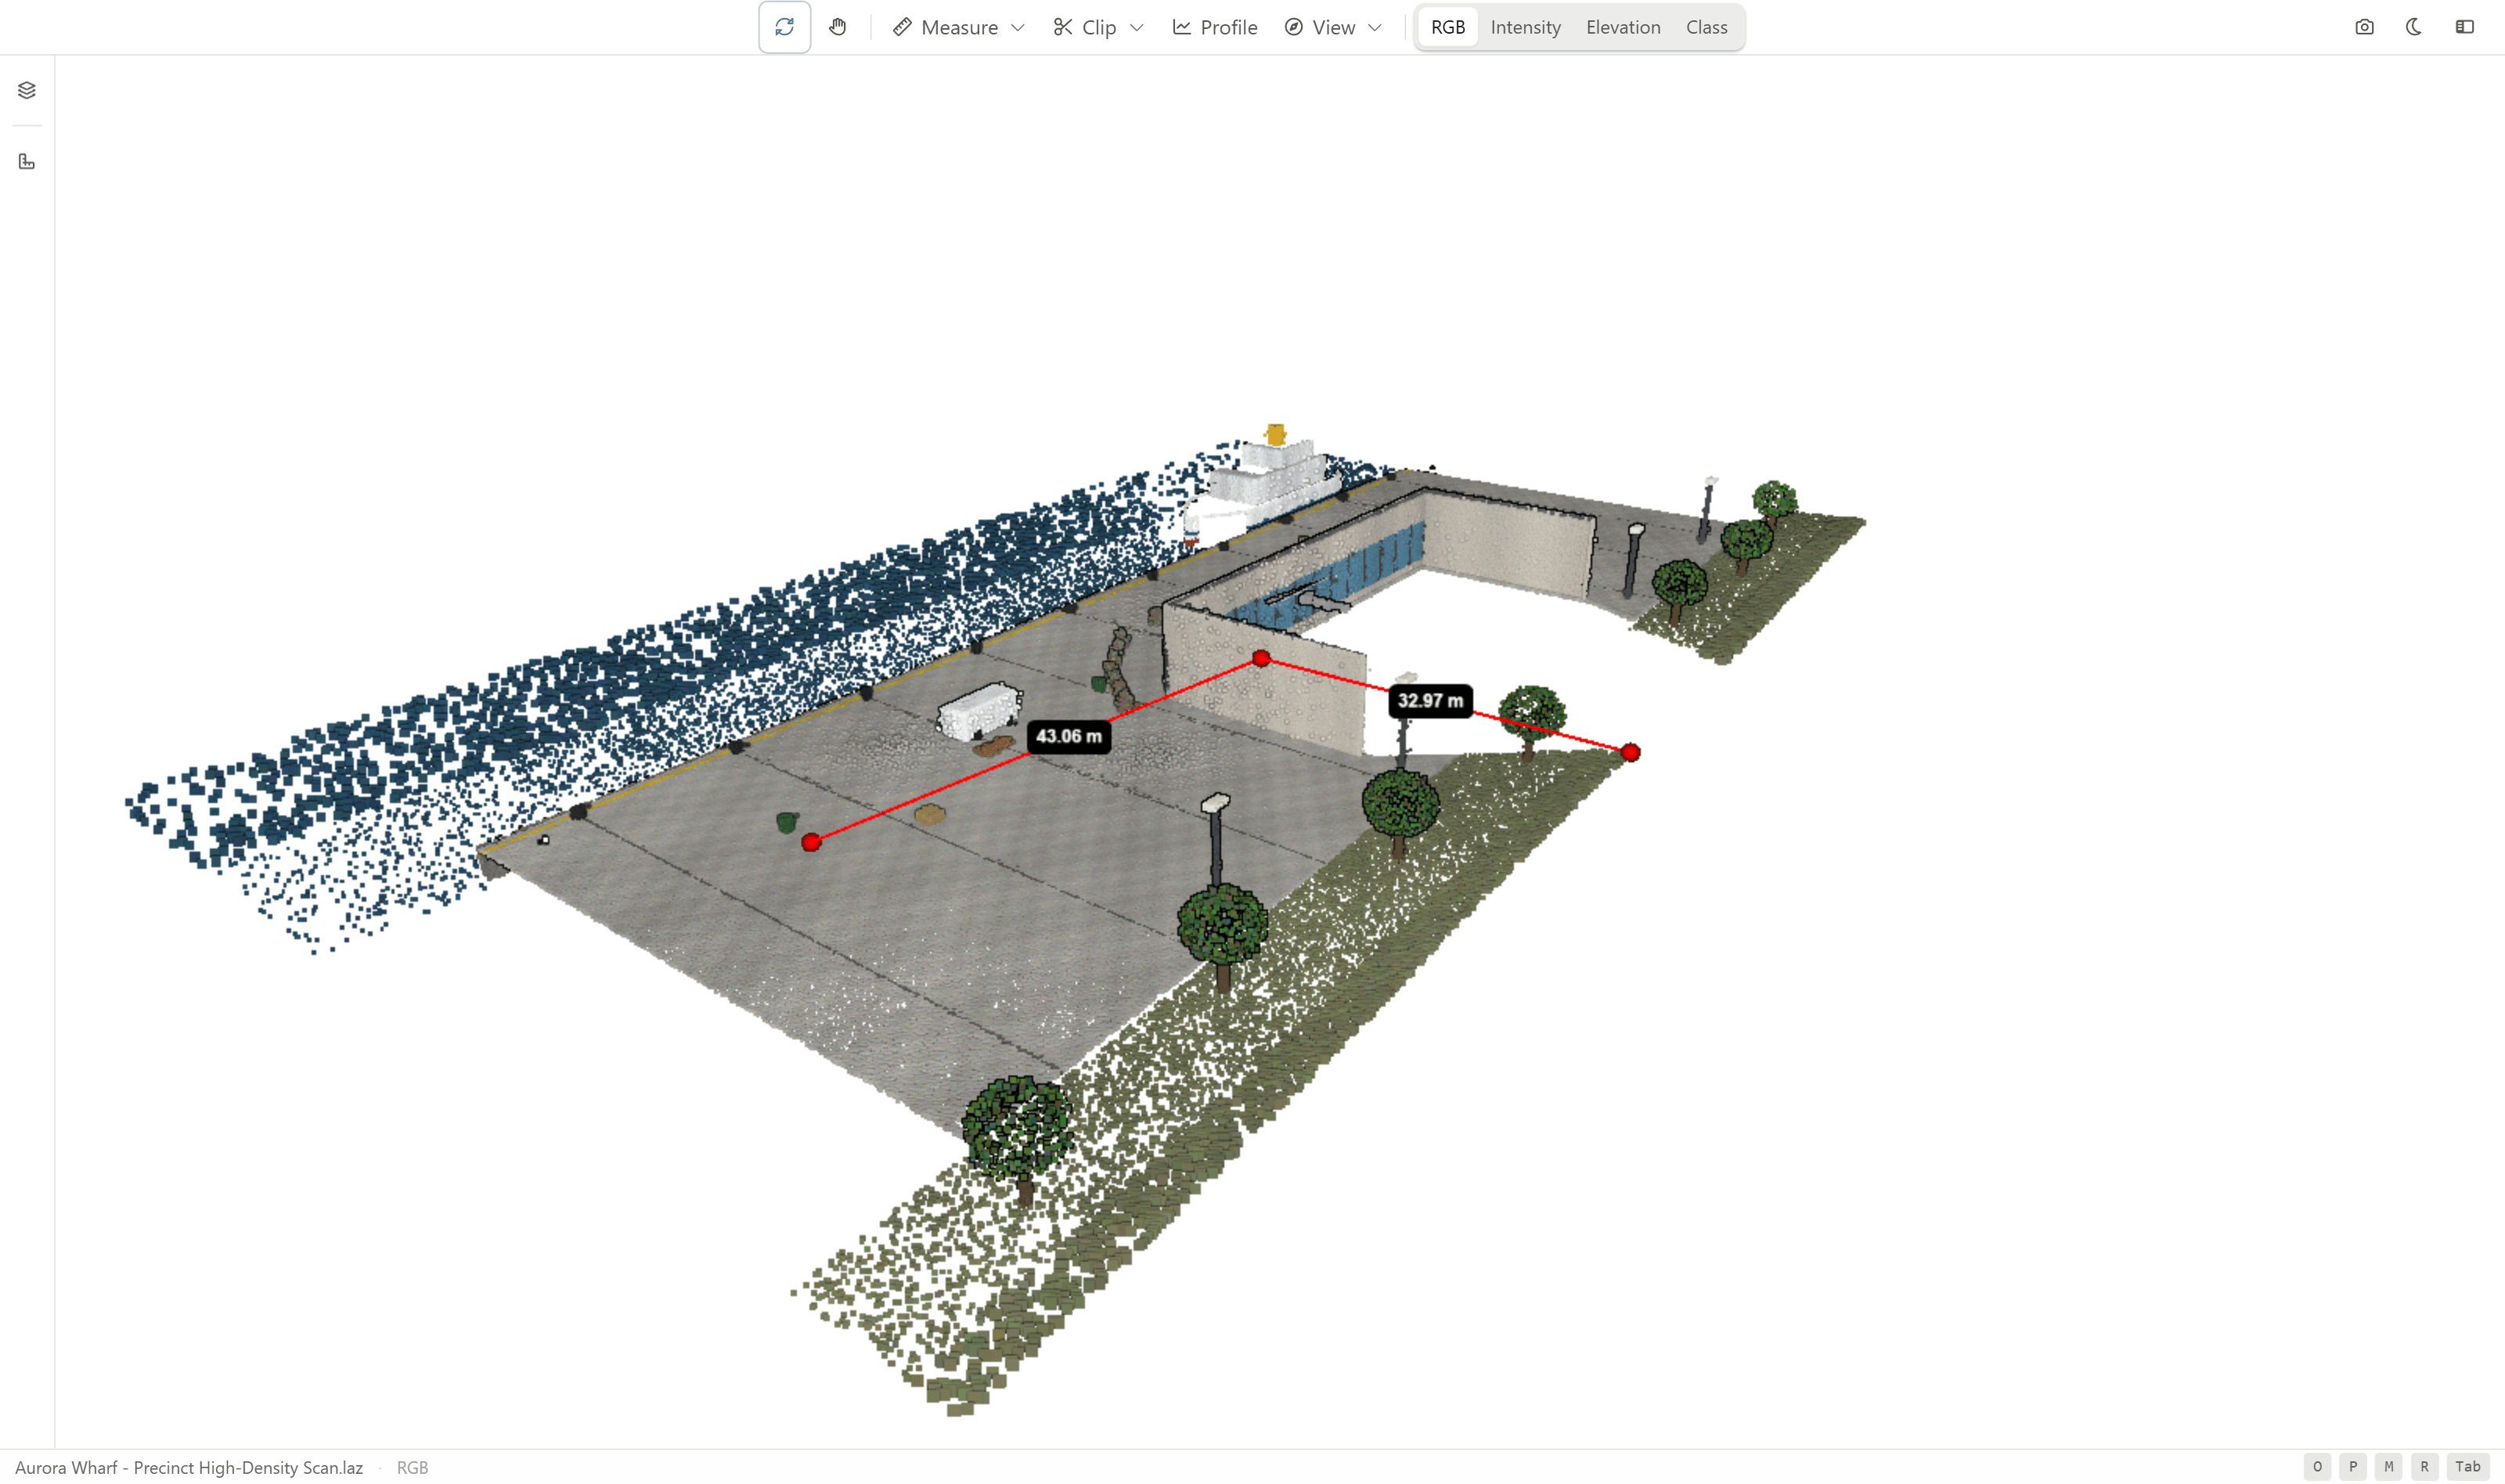
The Distance tool measures the straight-line 3D distance between two points, and the running total along a path of several points.
- Select Distance.
- Click the first point.
- Click each subsequent point along the path.
- Finish by double-clicking or pressing Escape.
Each segment and the total length are labelled in metres. Use it for spans, clearances, pipe or cable runs, and setting-out lengths.
Area
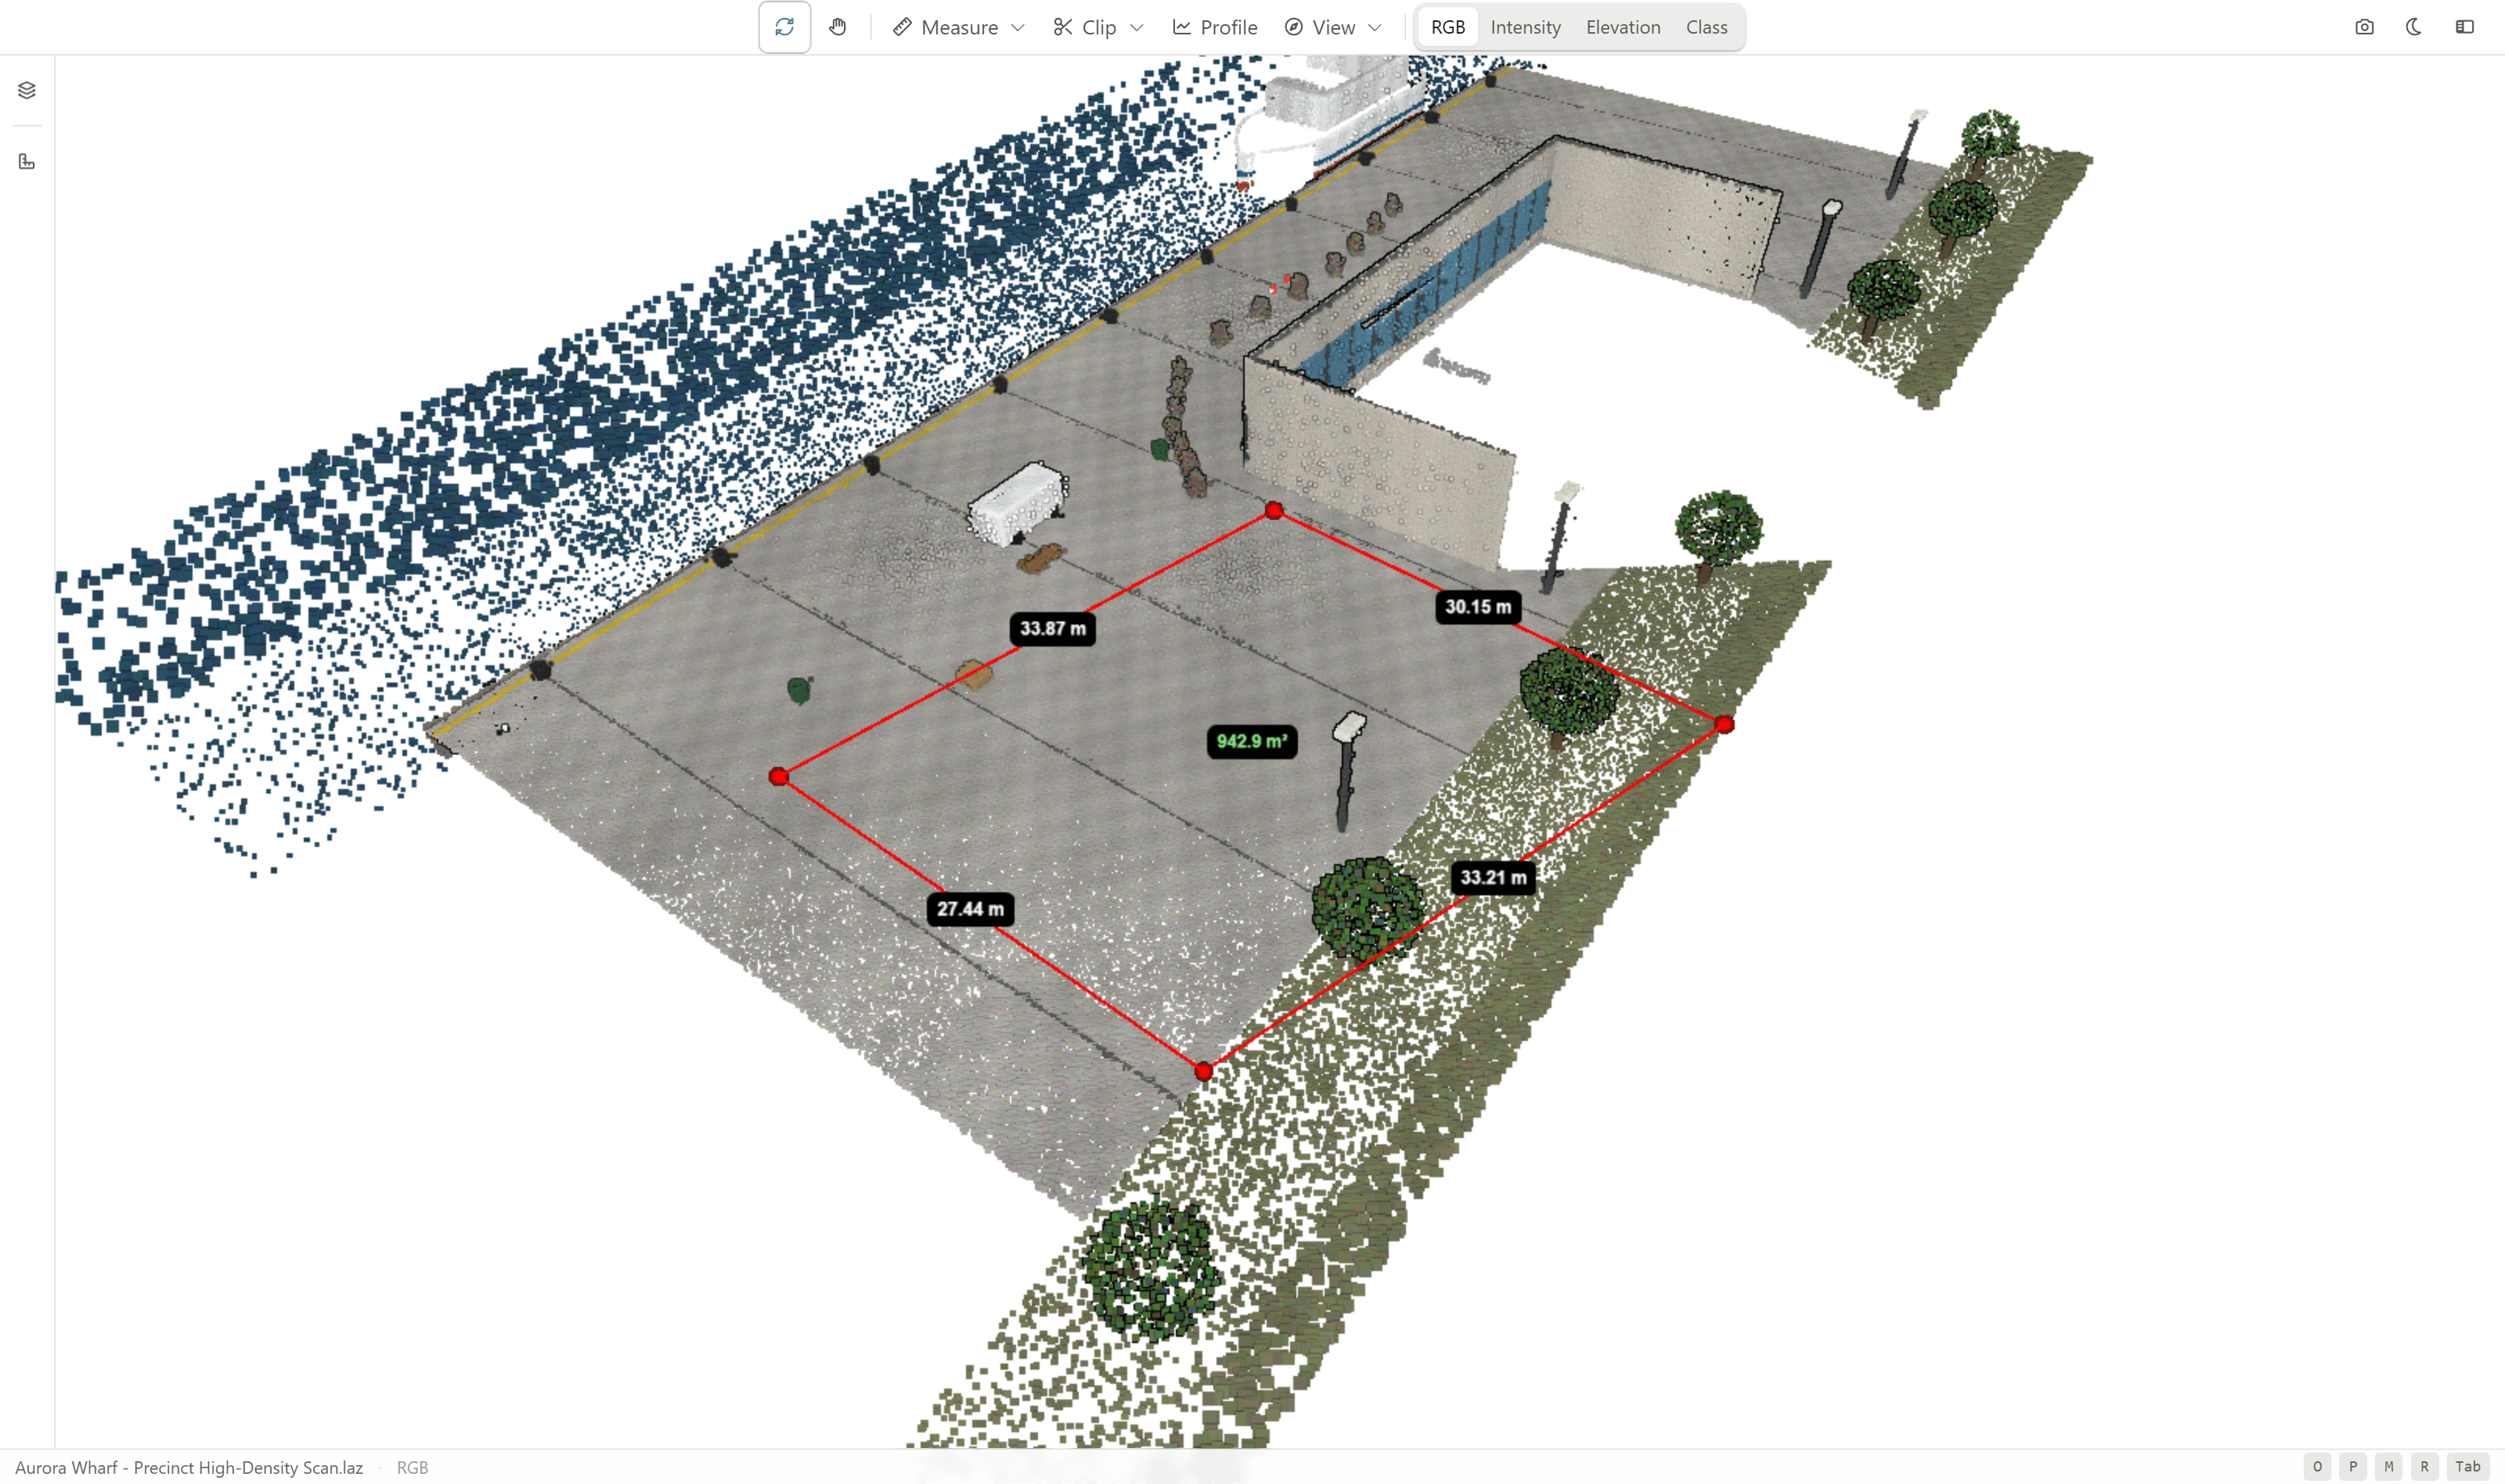
The Area tool measures the area of a polygon you draw by placing three or more points, which close into a face.
- Select Area.
- Click three or more points around the region you want to measure.
- Finish by double-clicking or pressing Escape.
The enclosed area and the edge lengths are reported. Use it for footprints, hardstand or paving extents, lay-down areas, and quantity take-offs.
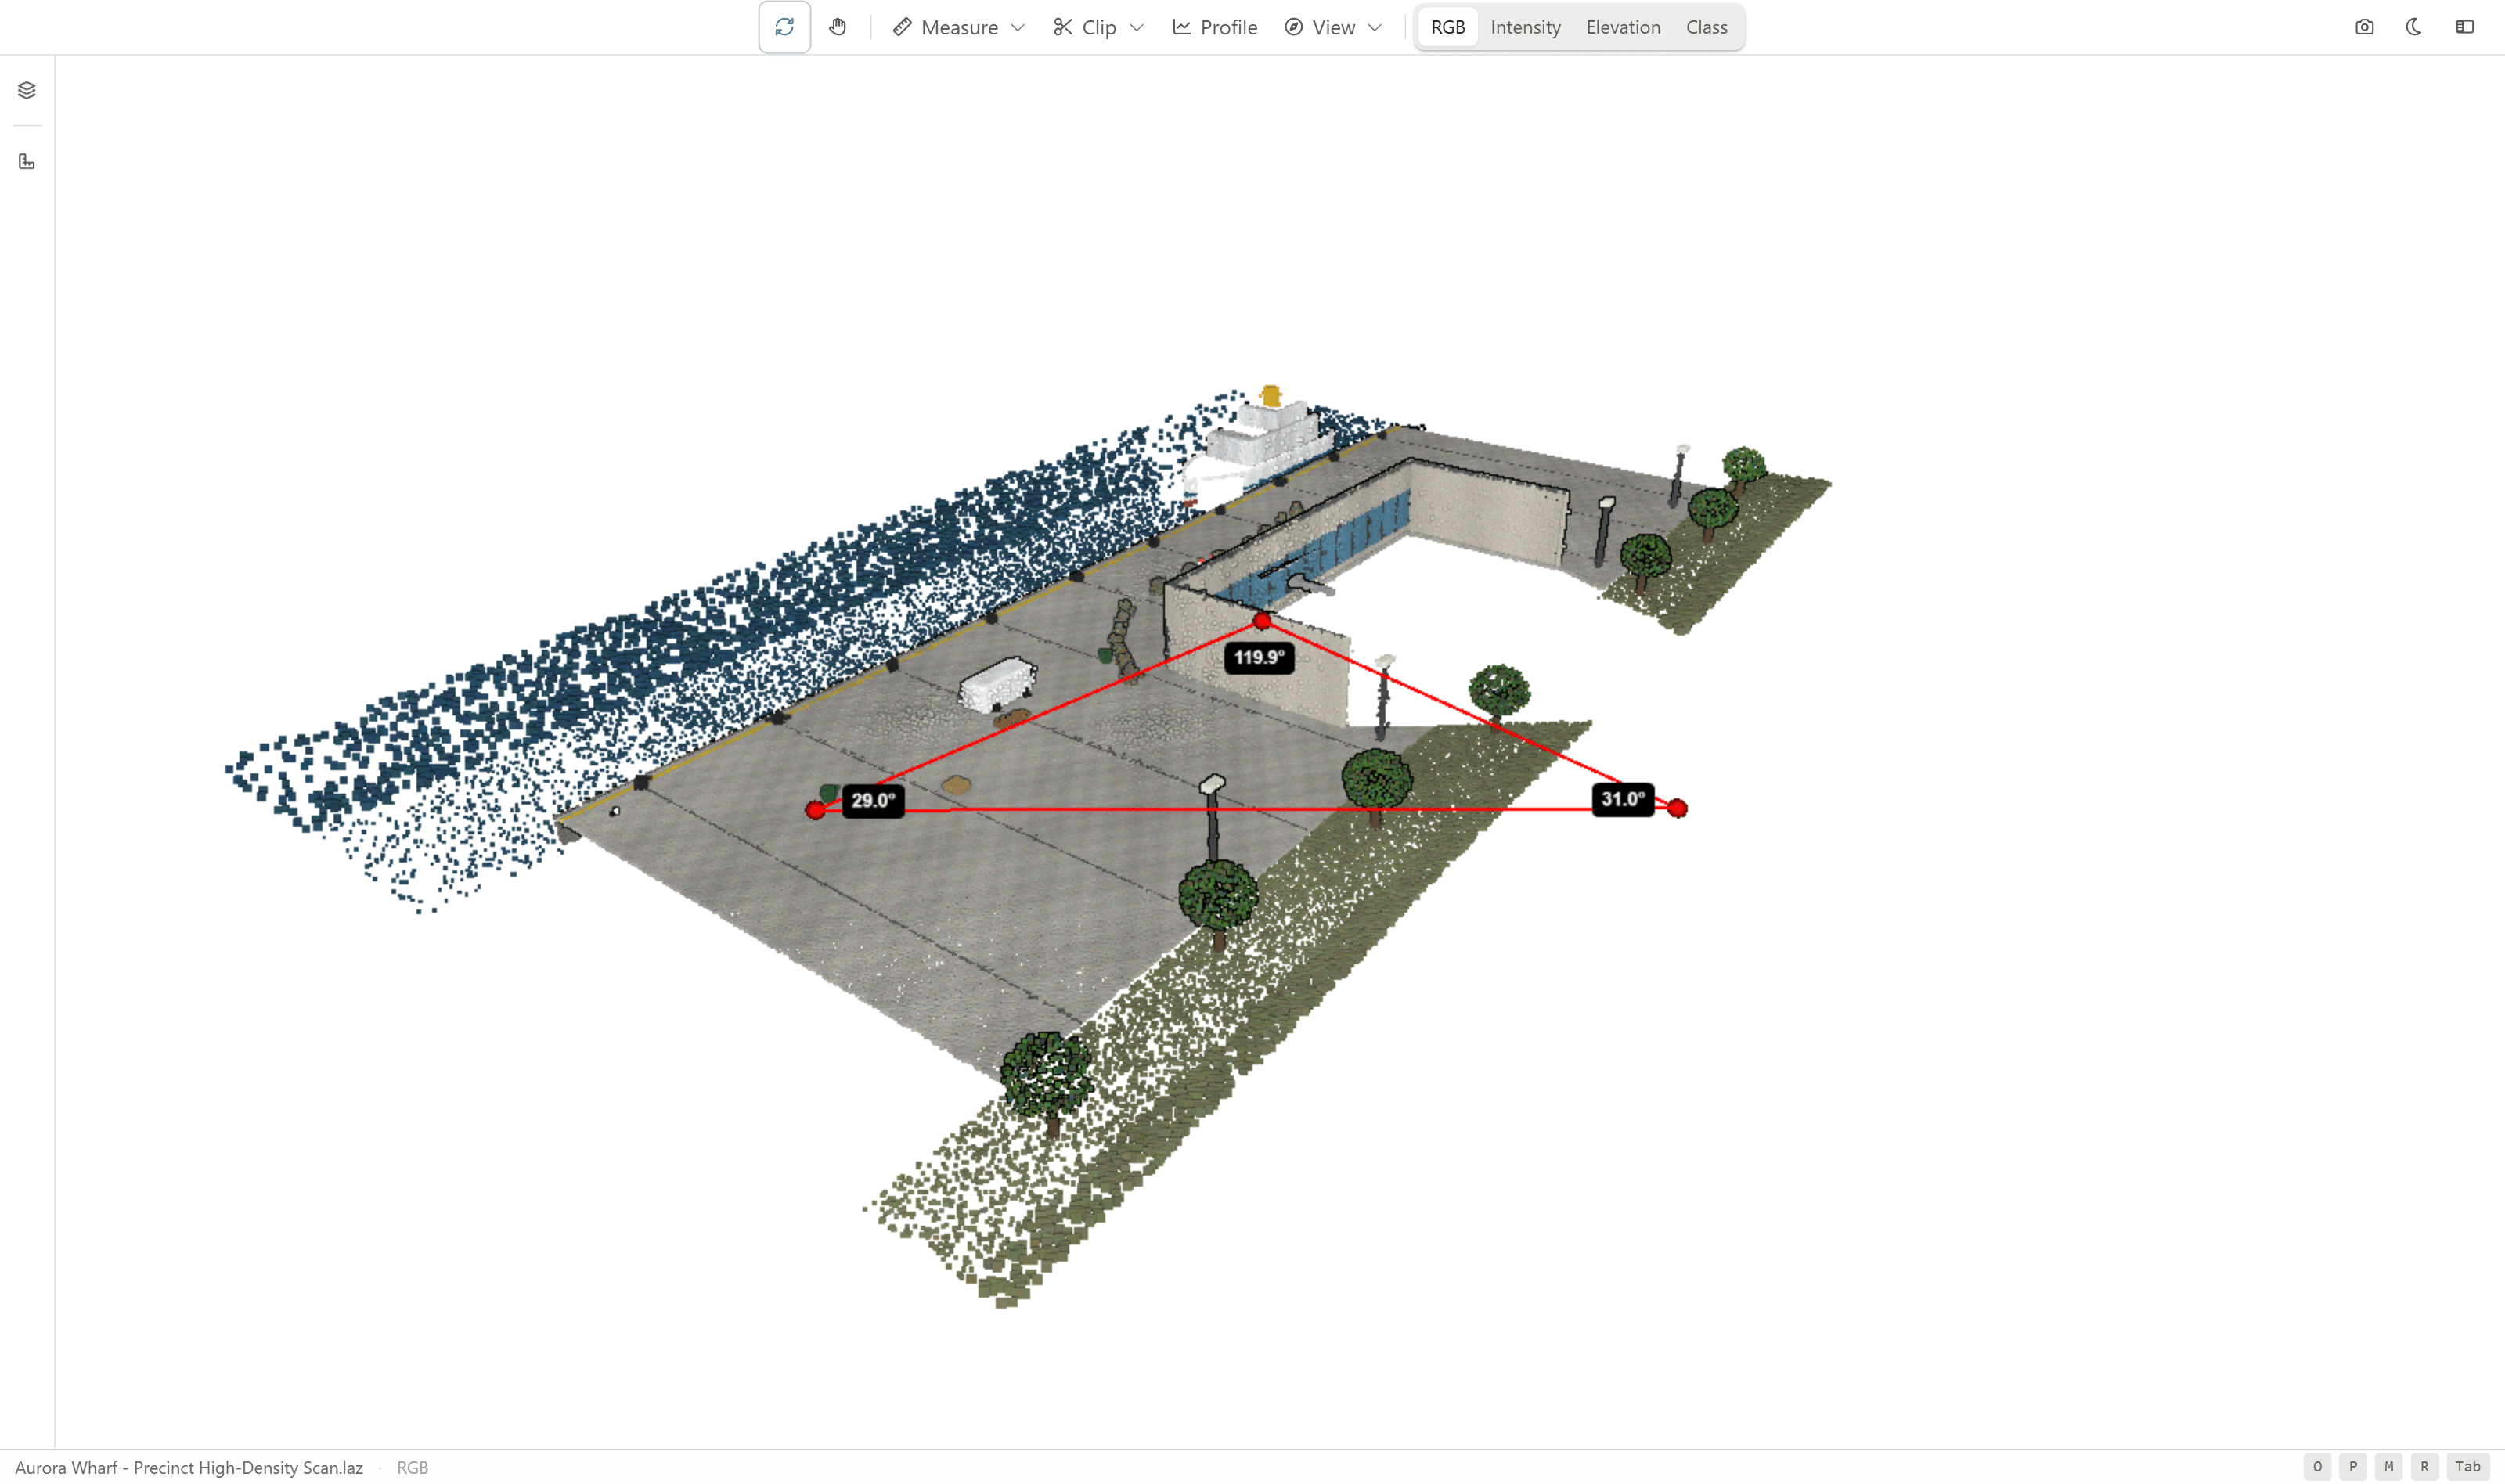
Angle
The Angle tool measures the angle formed by three points.
- Select Angle.
- Click the three points that define the corner.
The angle at each vertex is shown in degrees. Use it for slopes, batter angles, the angle between two walls or members, and checking corners.
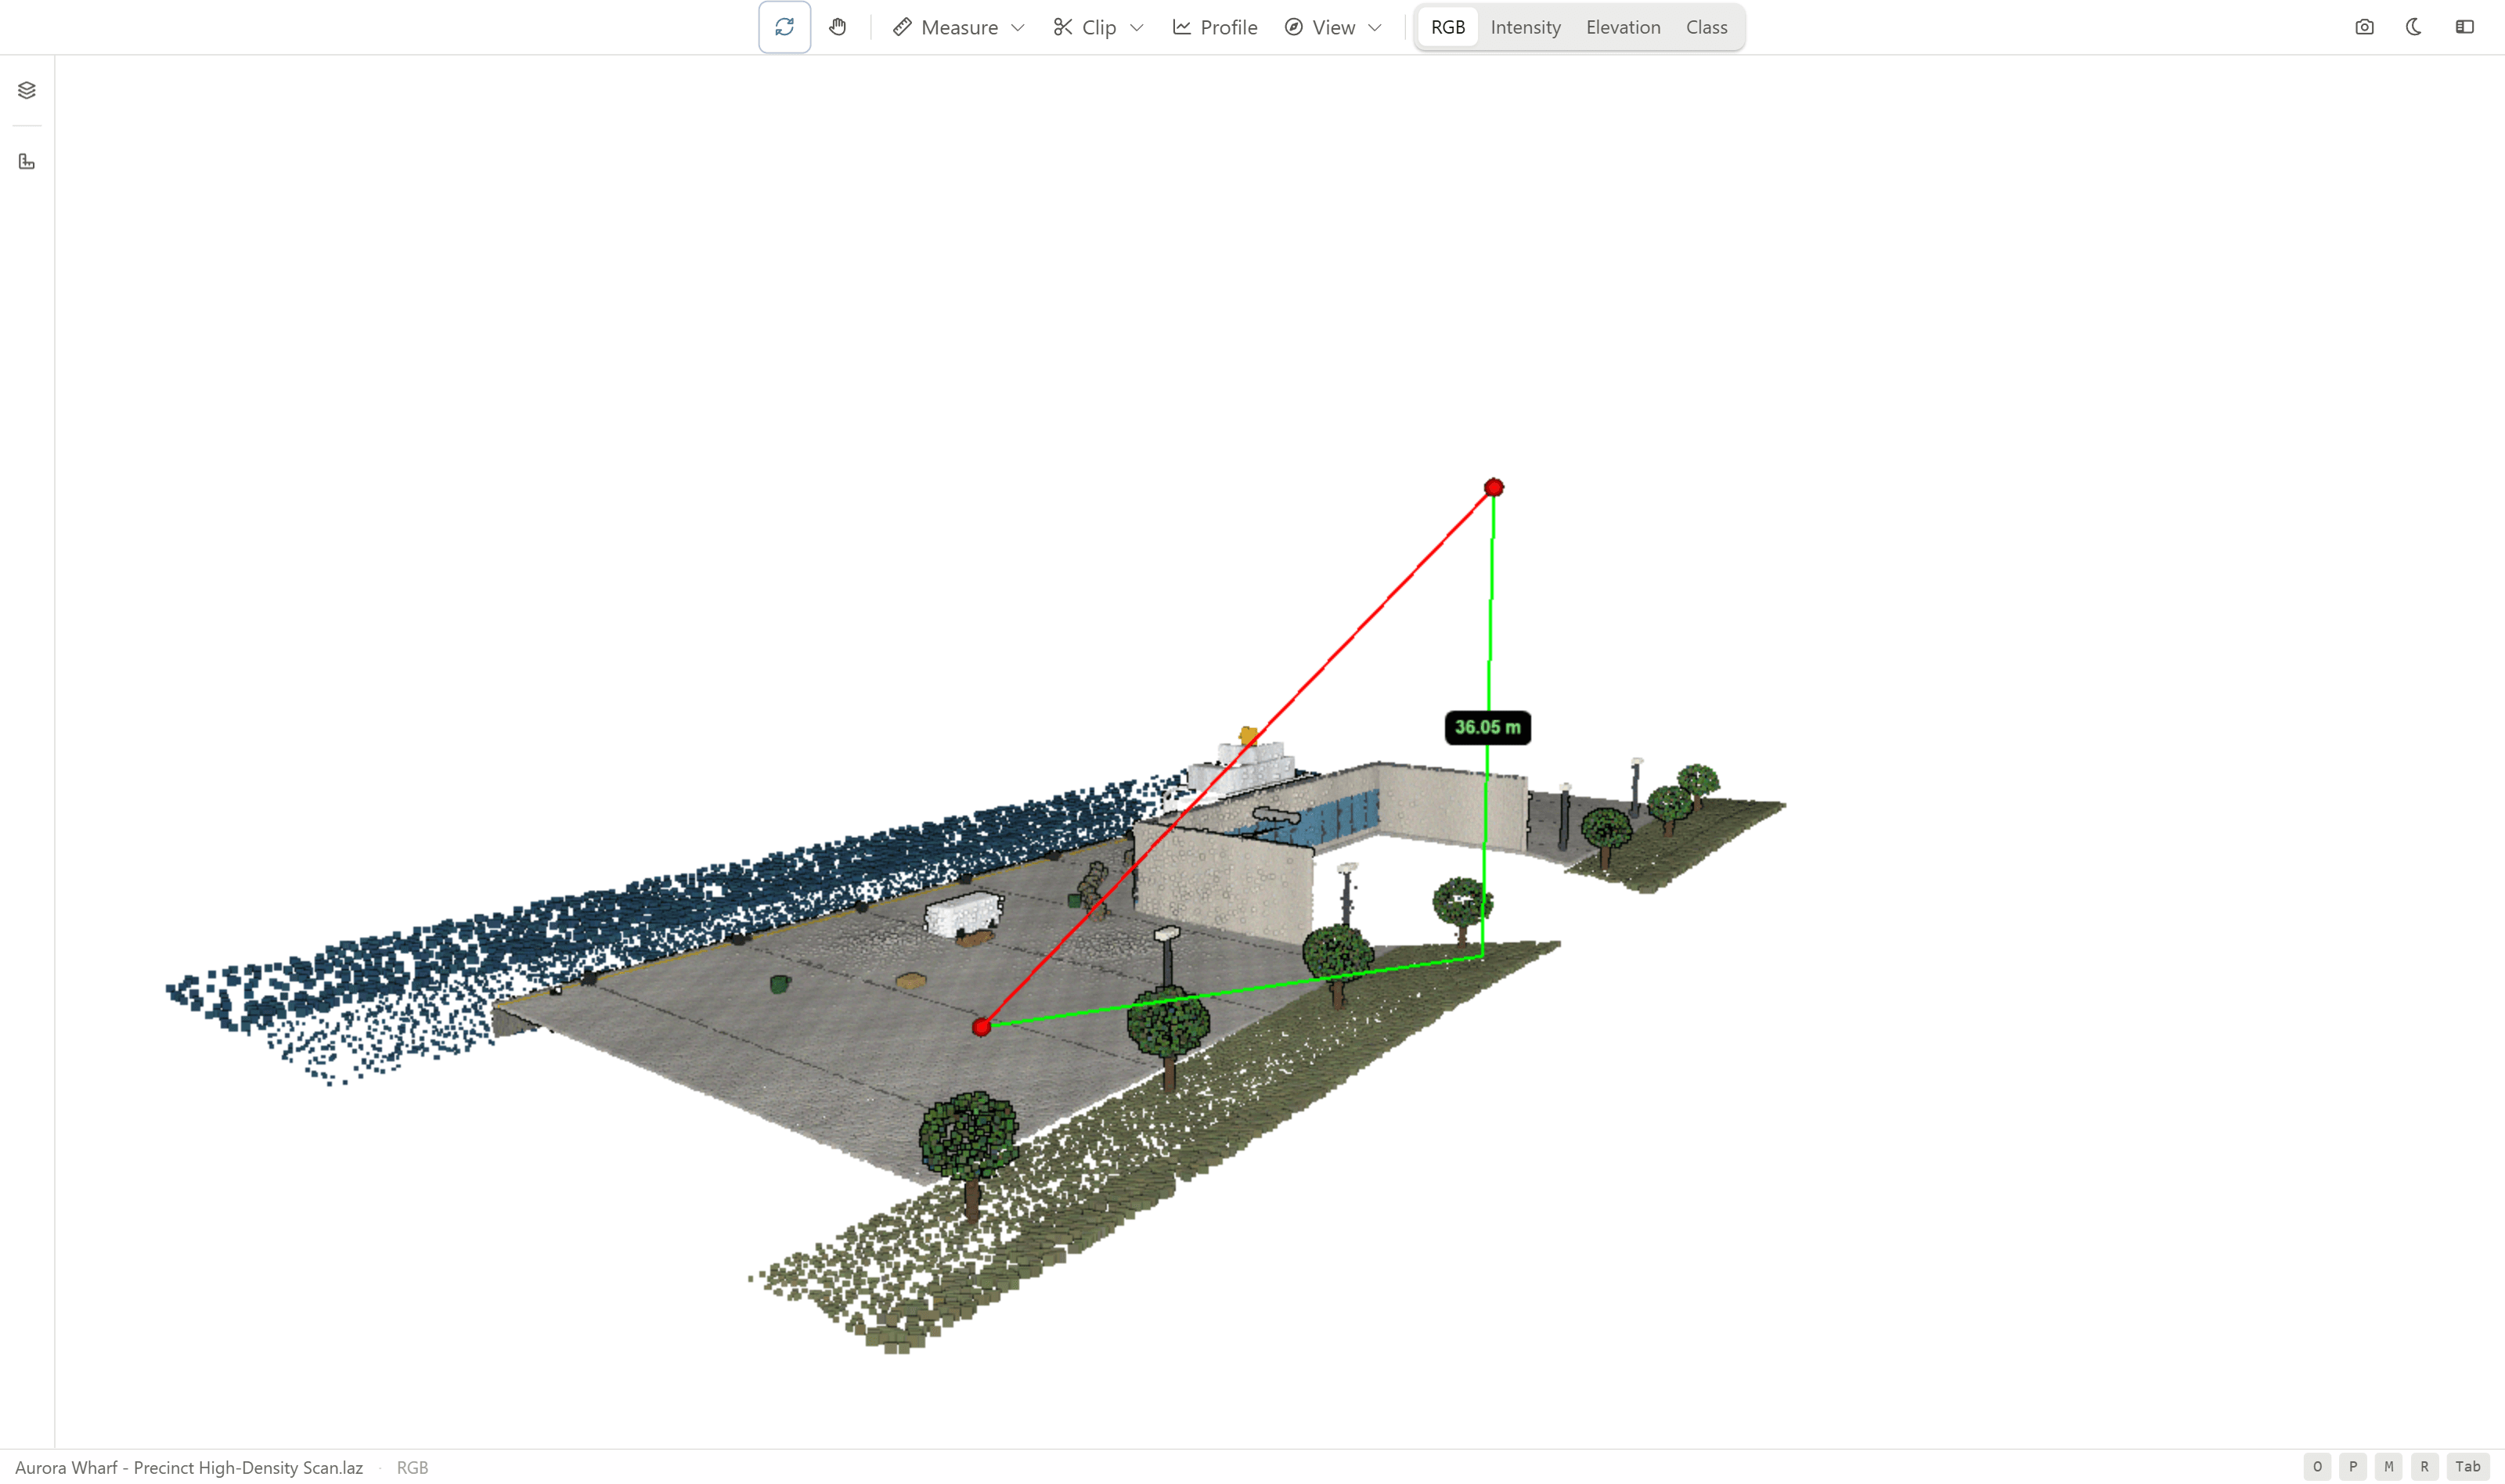
Height
The Height tool measures the vertical difference in height between two points, independent of the horizontal distance between them.
- Select Height.
- Click the lower point.
- Click the upper point.
The vertical difference is shown in metres. Use it for floor-to-floor heights, structure or bank heights, level differences, and headroom.
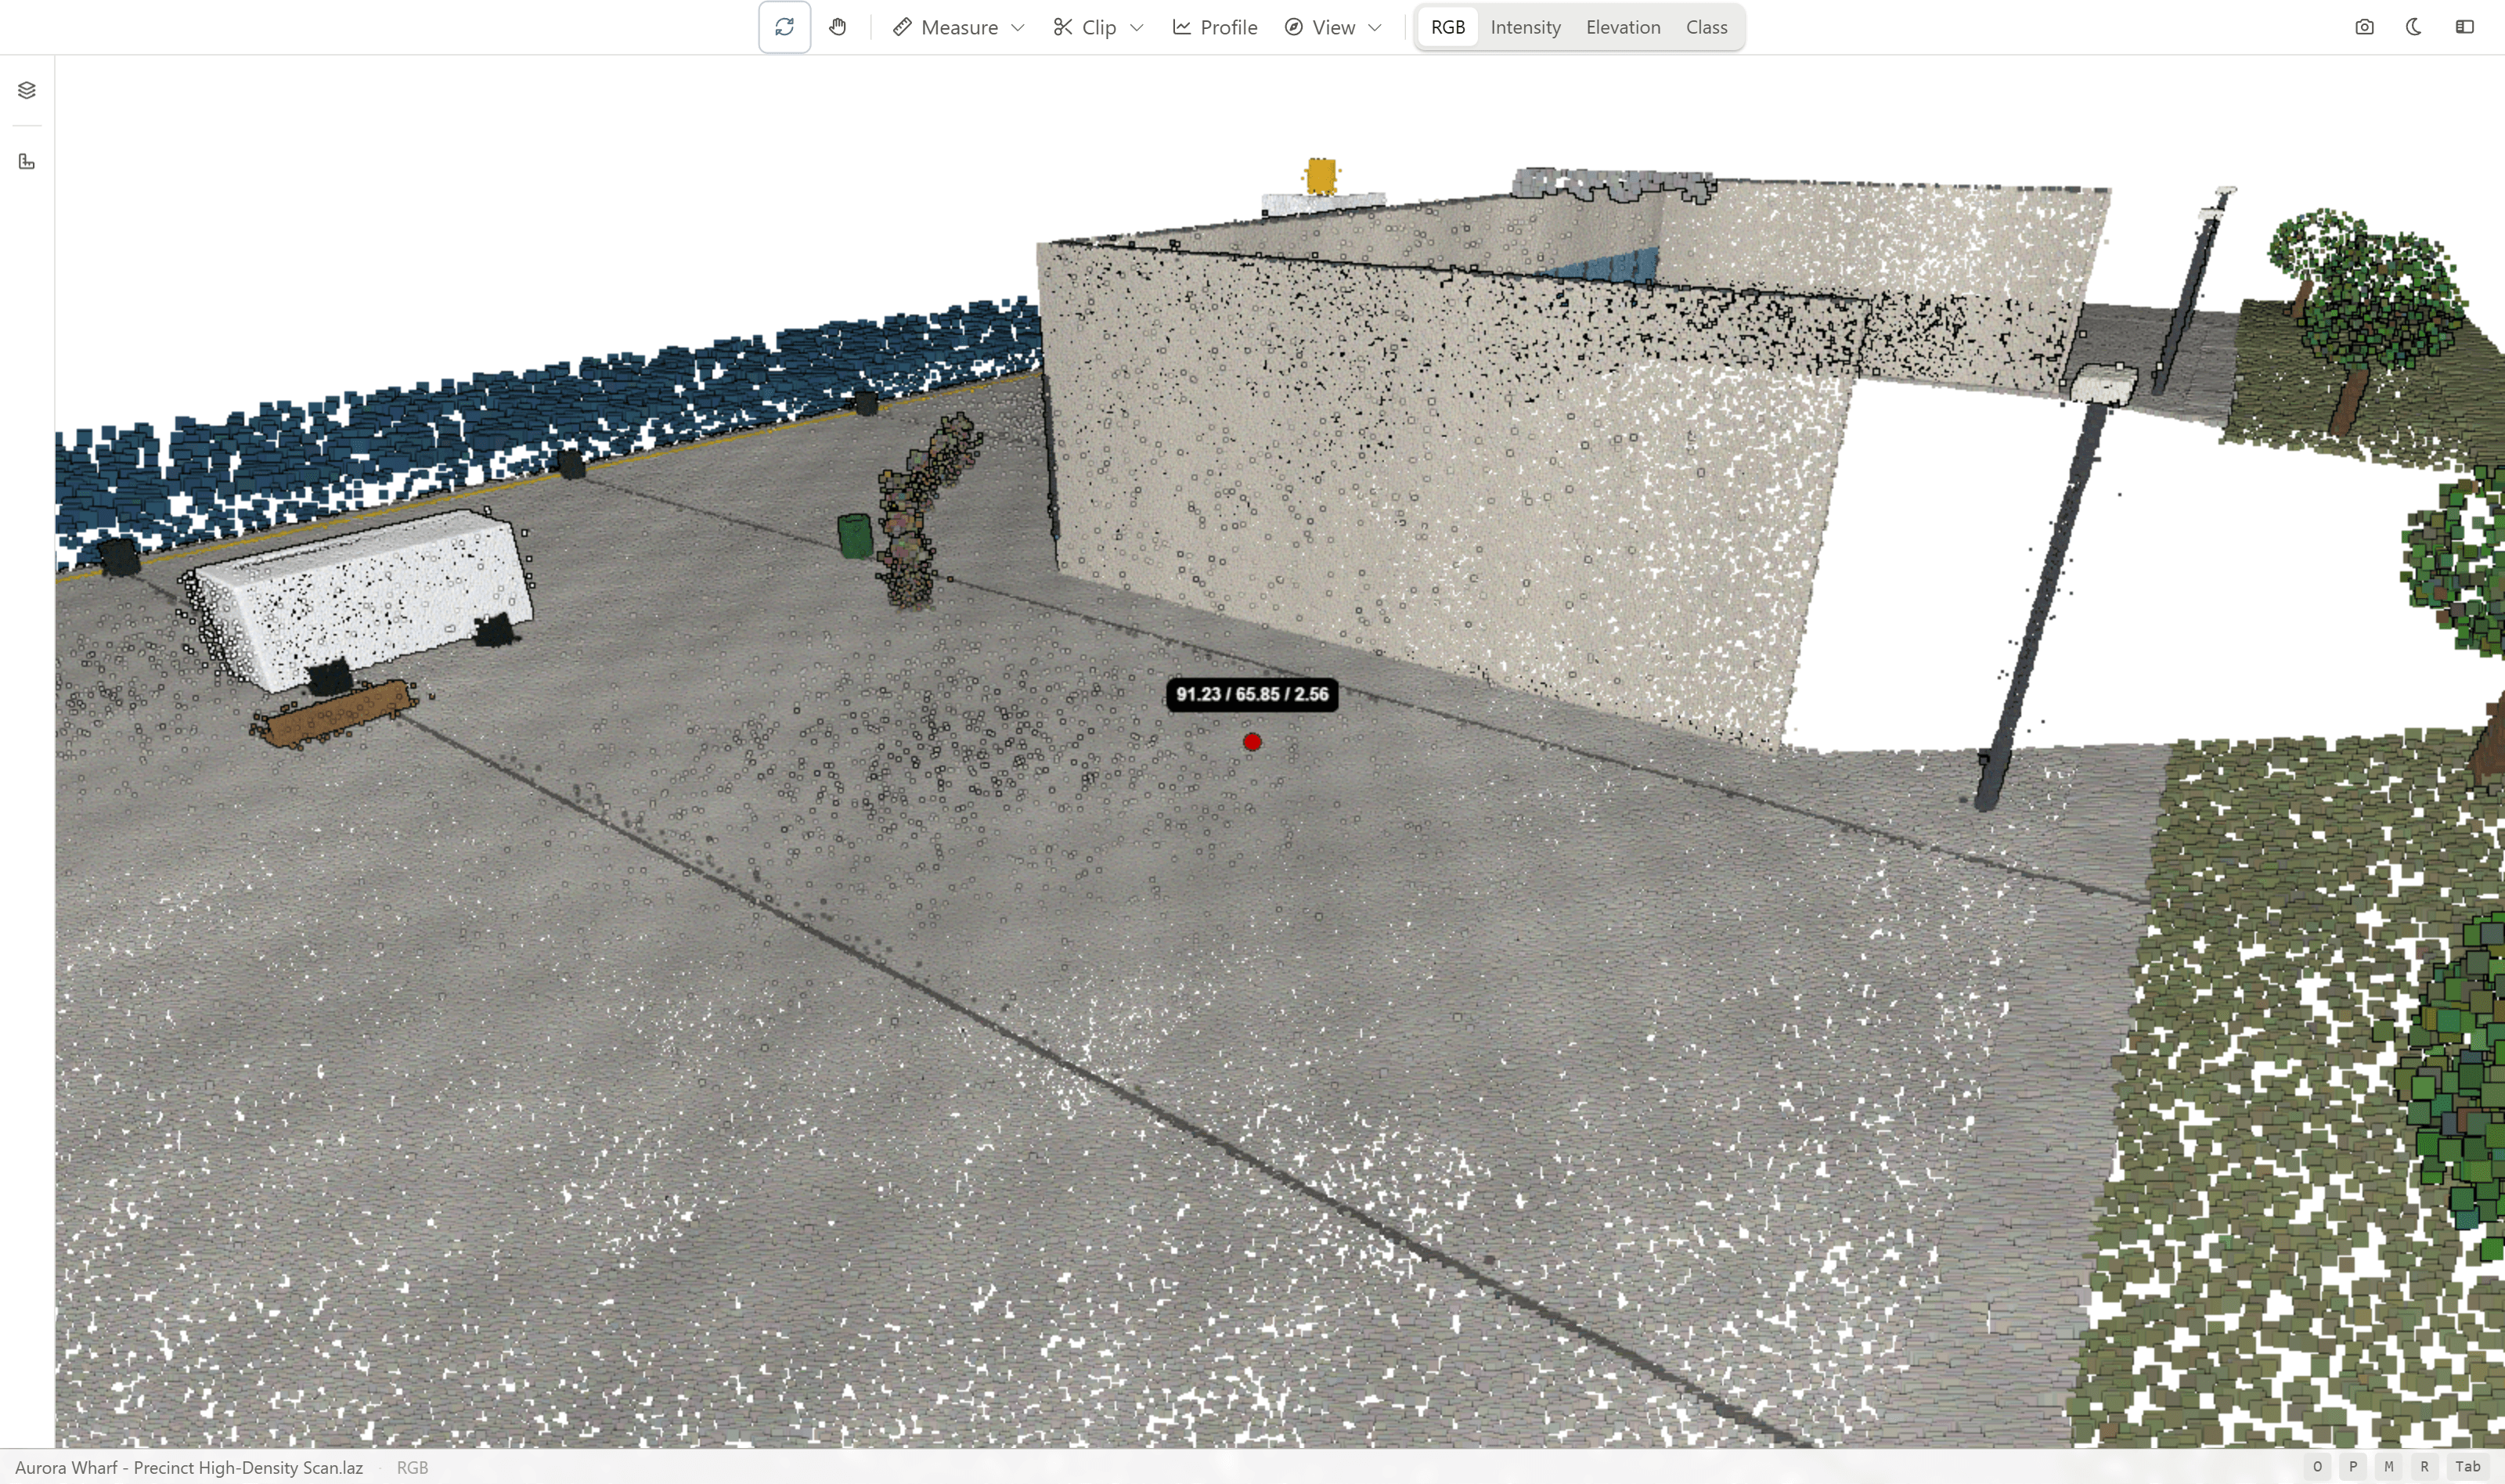
Point
The Point tool places a single marker and reports its coordinates.
- Select Point.
- Click the feature you want to record.
The point's easting, northing, and elevation (X, Y, and Z) are shown. Use it for capturing the position of a feature, recording a control point, or reading a level.
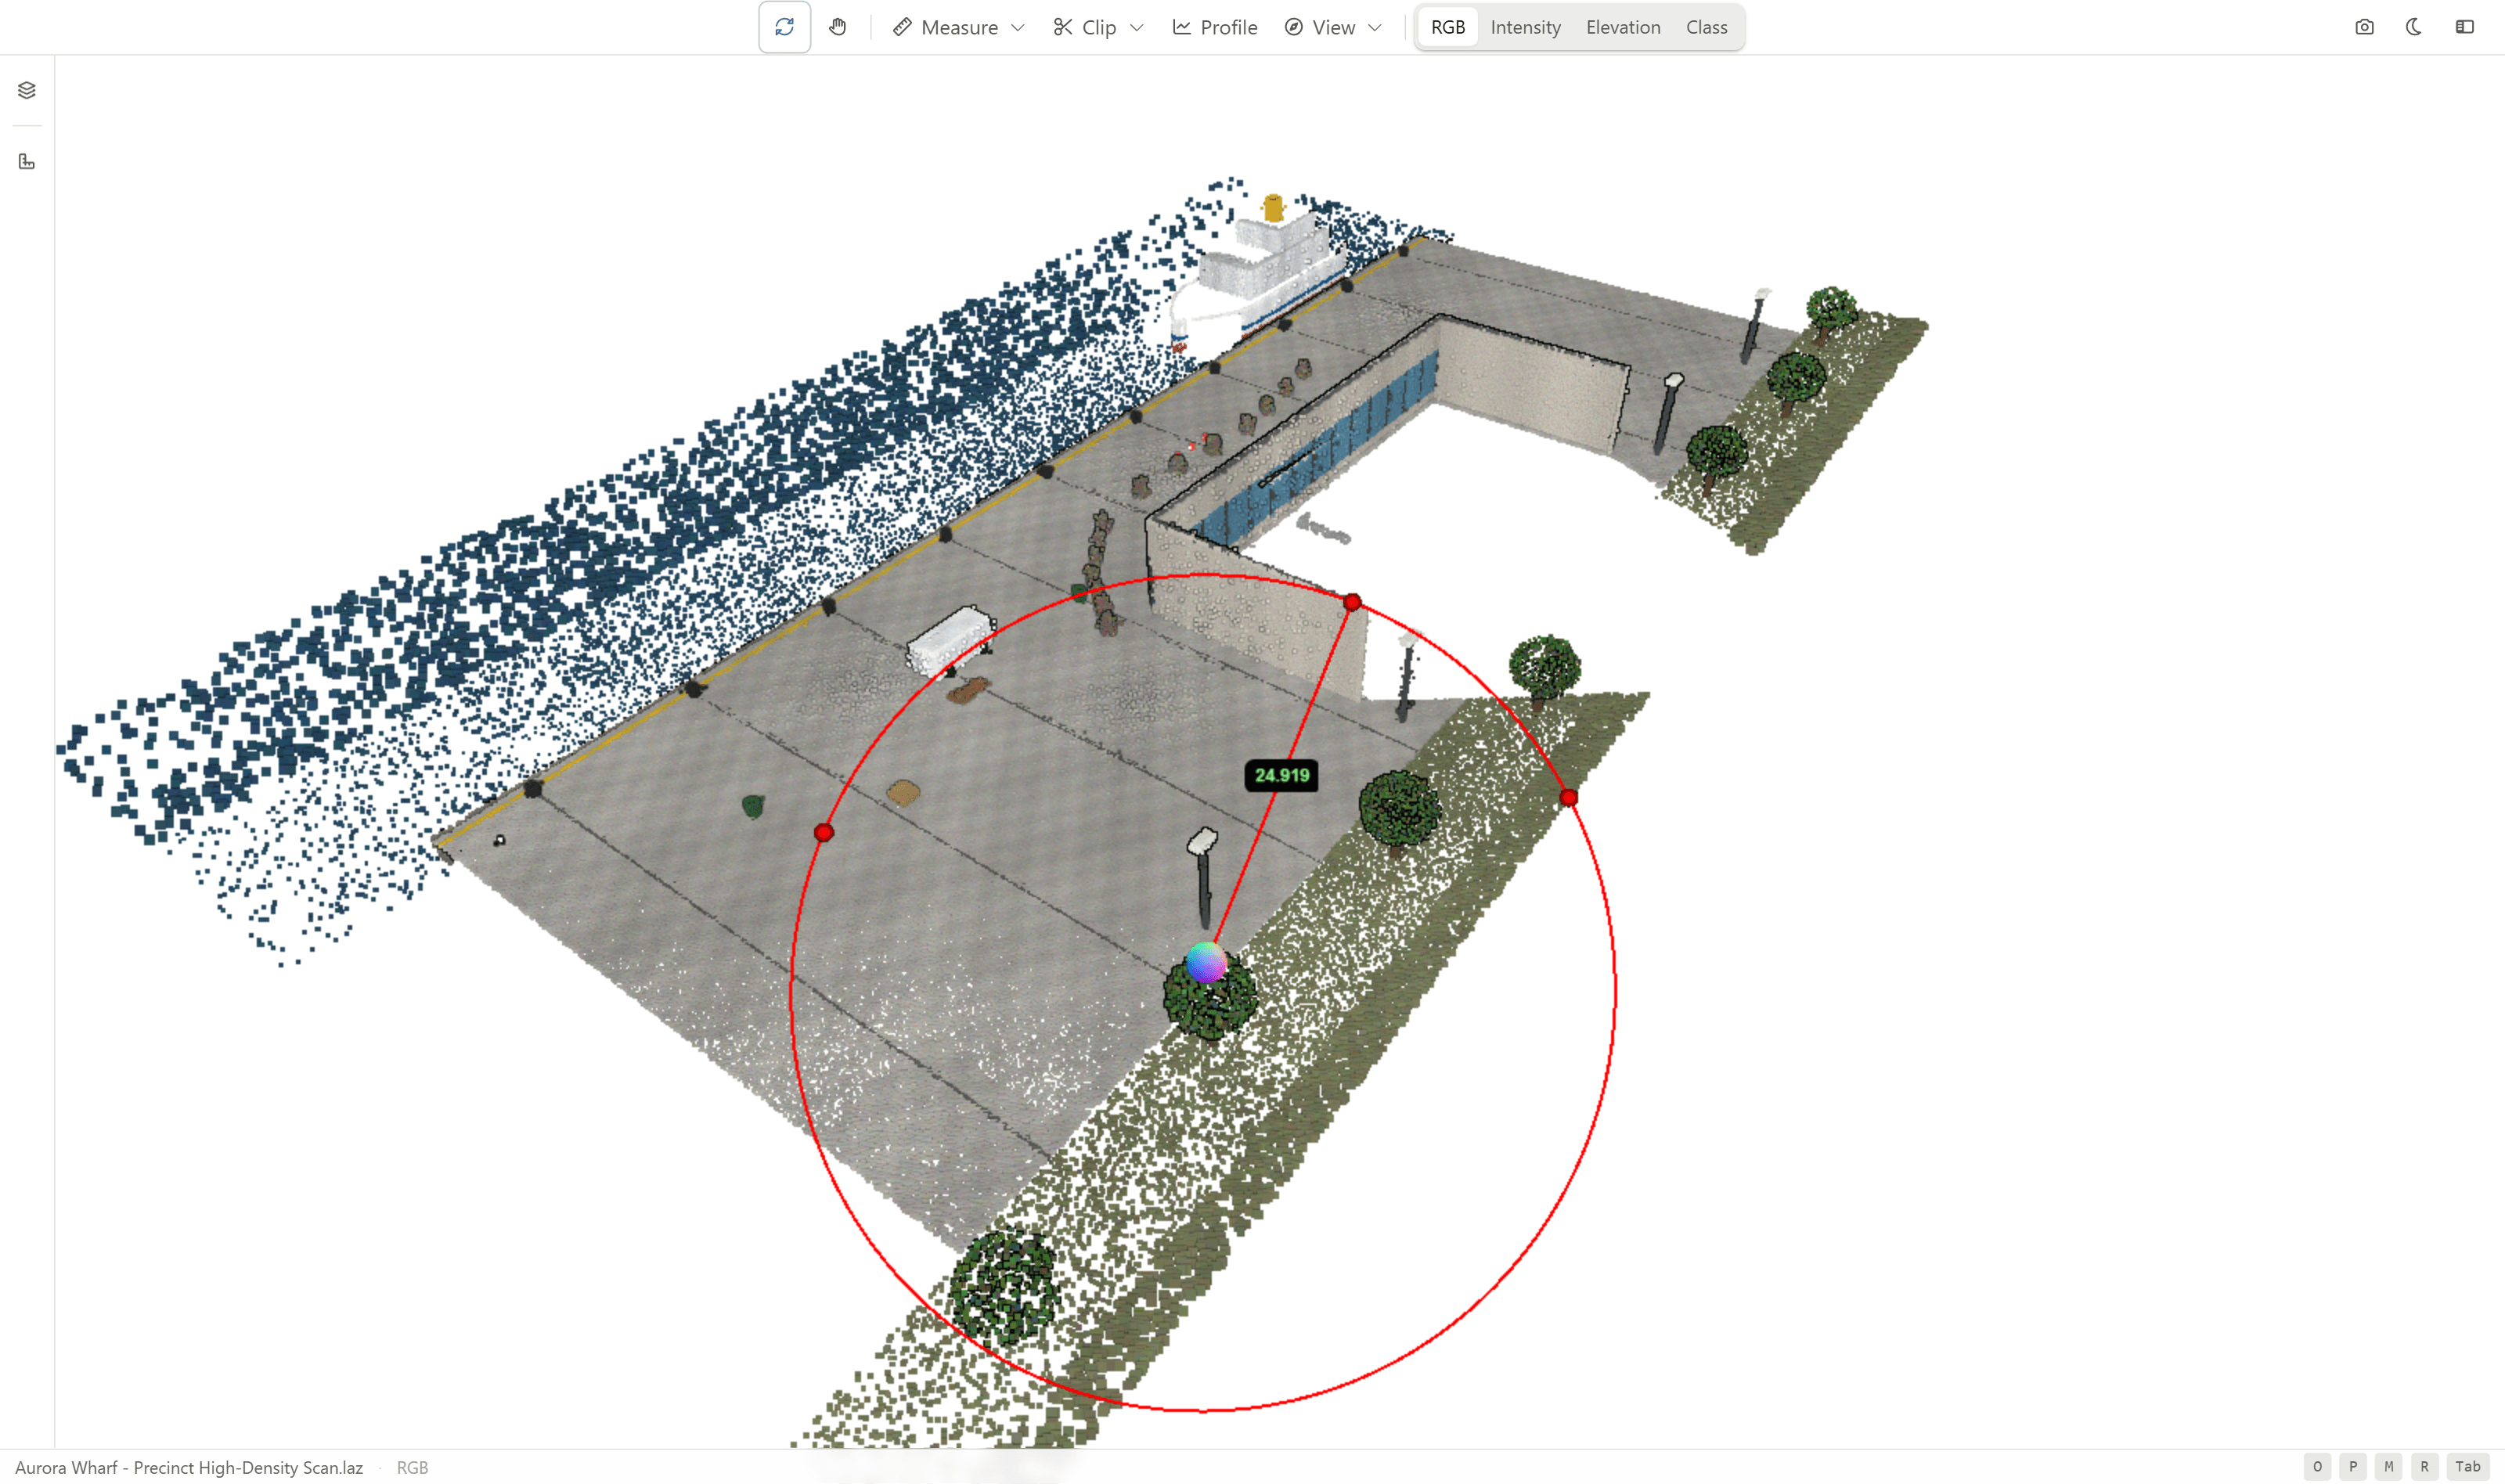
Circle
The Circle tool fits a circle through three points and reports its centre and radius.
- Select Circle.
- Click three points around the edge of the circular feature.
The centre and radius are reported, along with the diameter and circumference. Use it for pipe or column diameters, curved kerbs, and circular tanks or manholes.
Azimuth
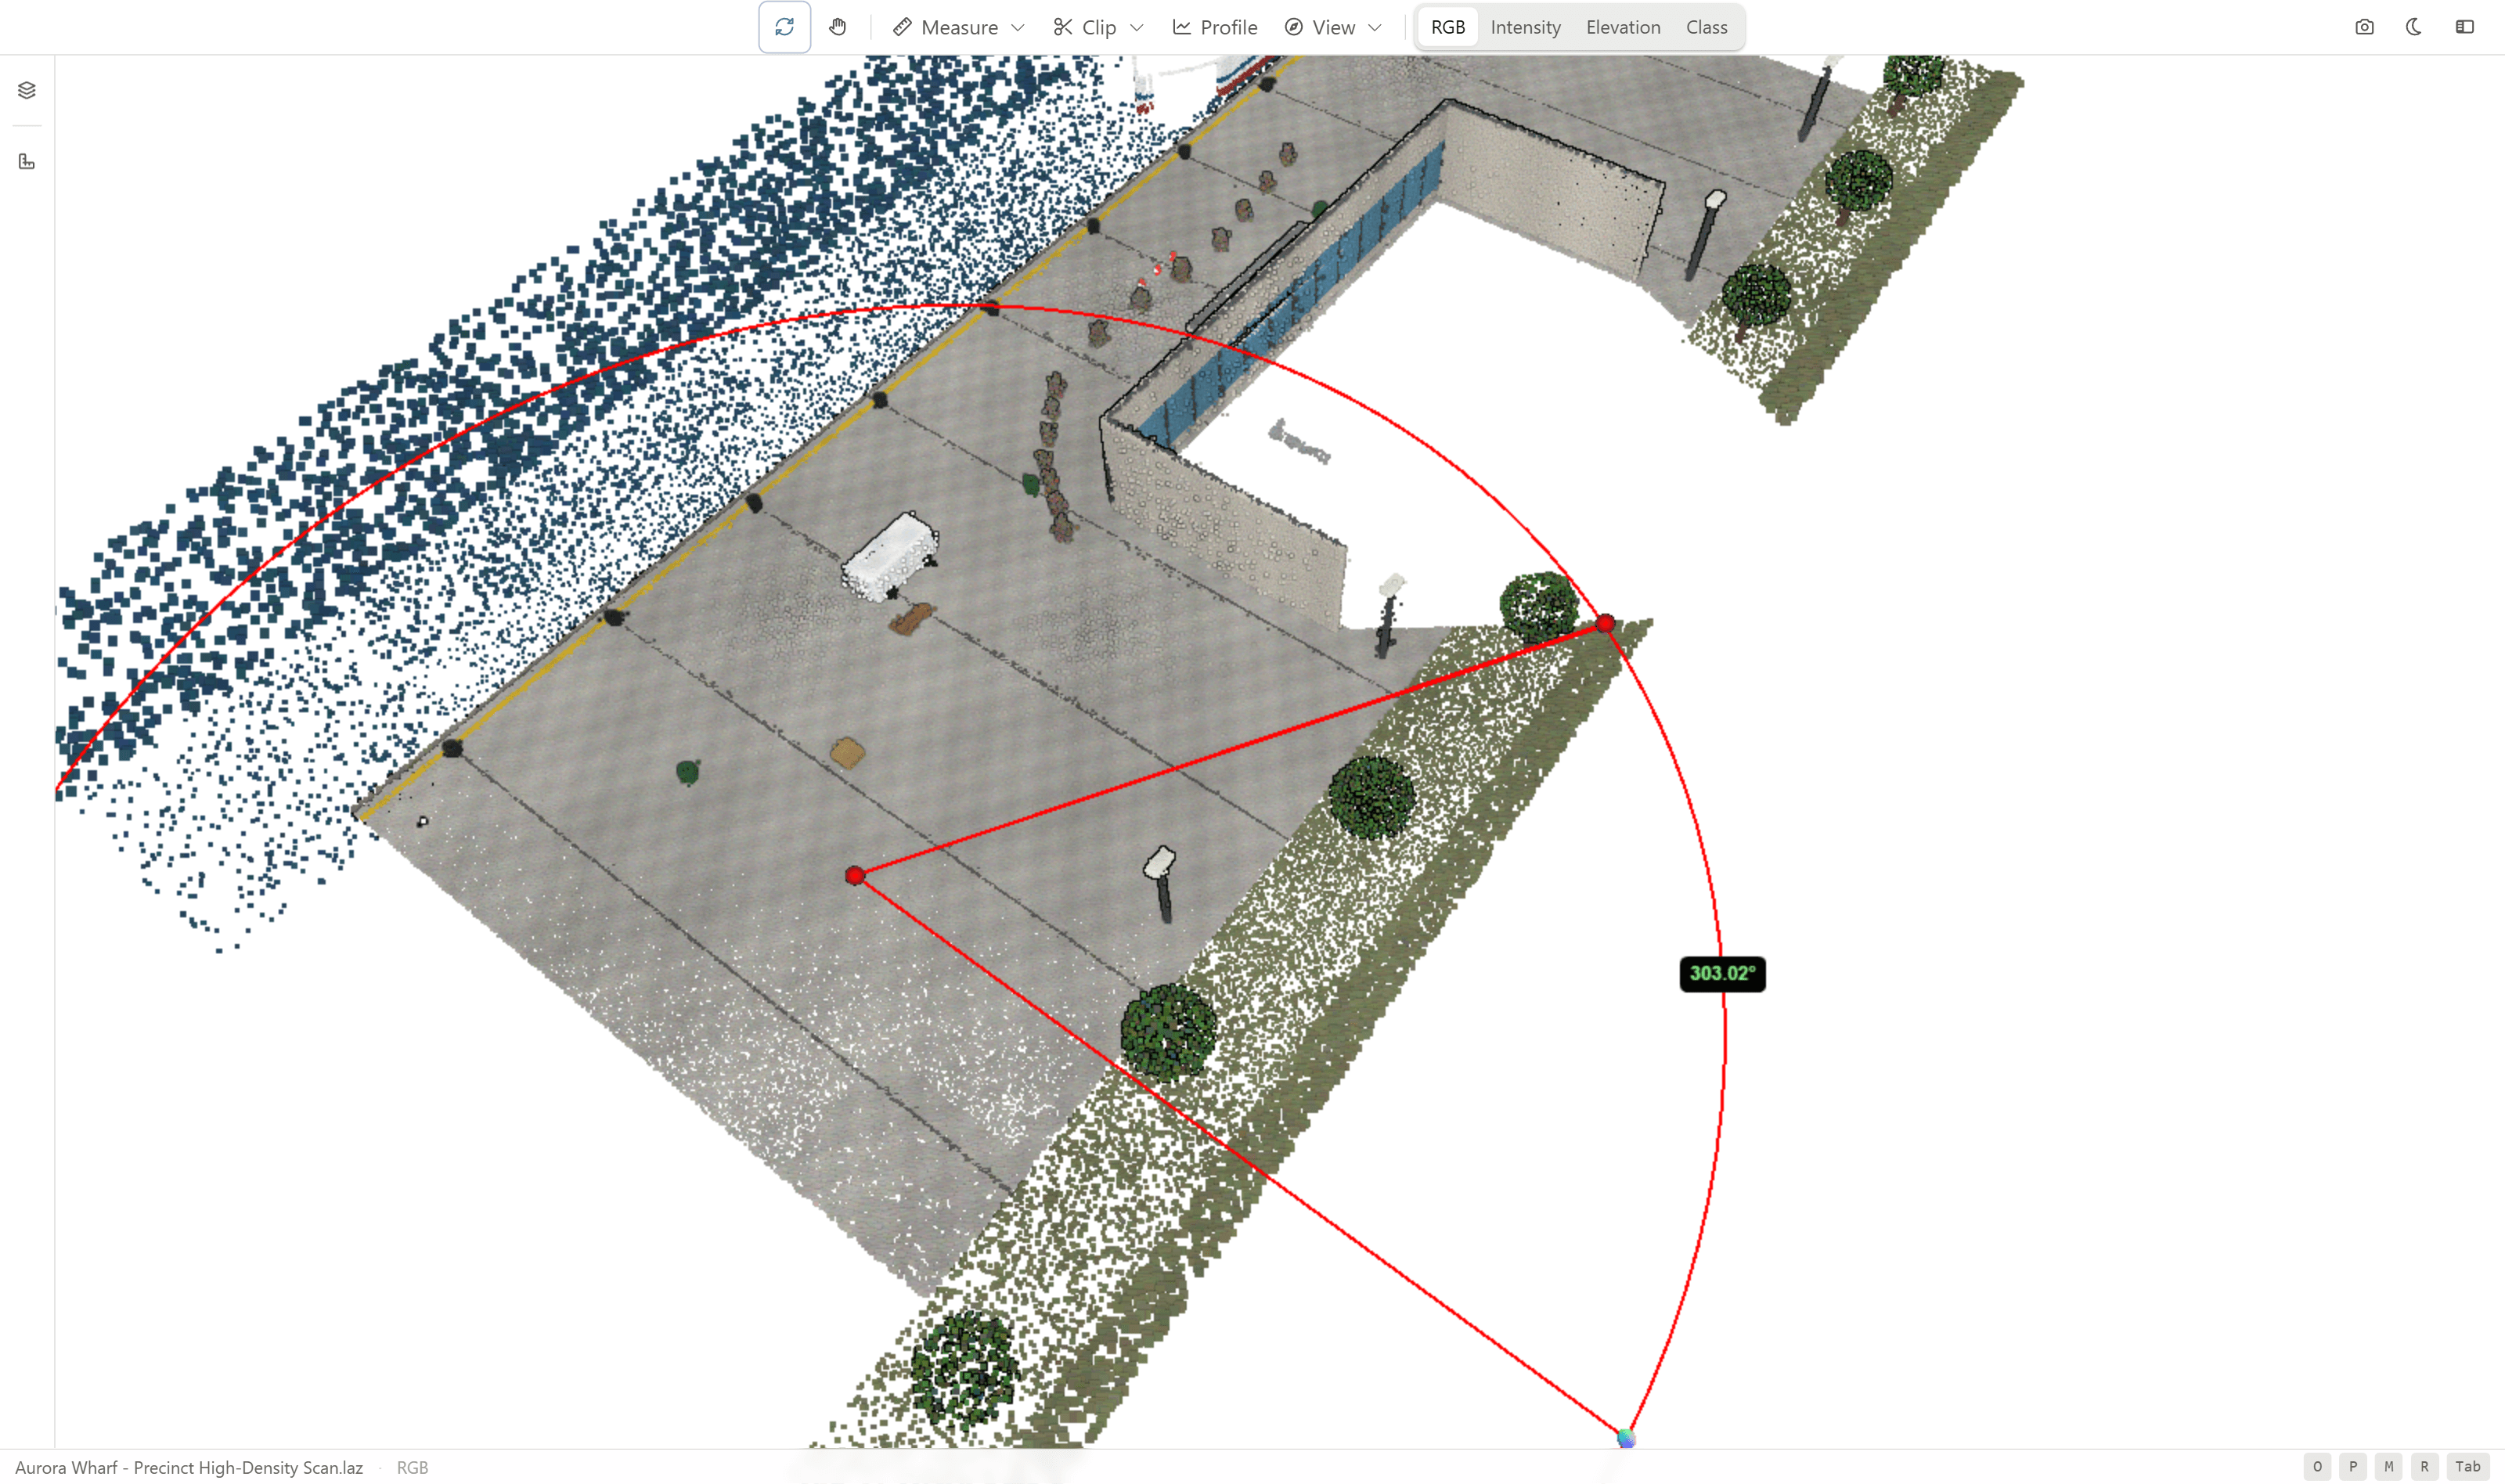
The Azimuth tool measures the horizontal bearing, or heading, from north between points.
- Select Azimuth.
- Click the point you are measuring from.
- Click the point you are measuring to.
The bearing from north is shown in degrees. Use it for the orientation of a feature, an alignment or setting-out direction, and checking headings against a plan.
Clipping and Sections
Open the Clip group to isolate part of the cloud. Define a Box Volume, Sphere Volume, or Polygon Clip, then set the clip task to Highlight, Inside, or Outside to control what stays visible.

Use Cross-Section Profile to extract a profile through the cloud.
Adjusting the Display
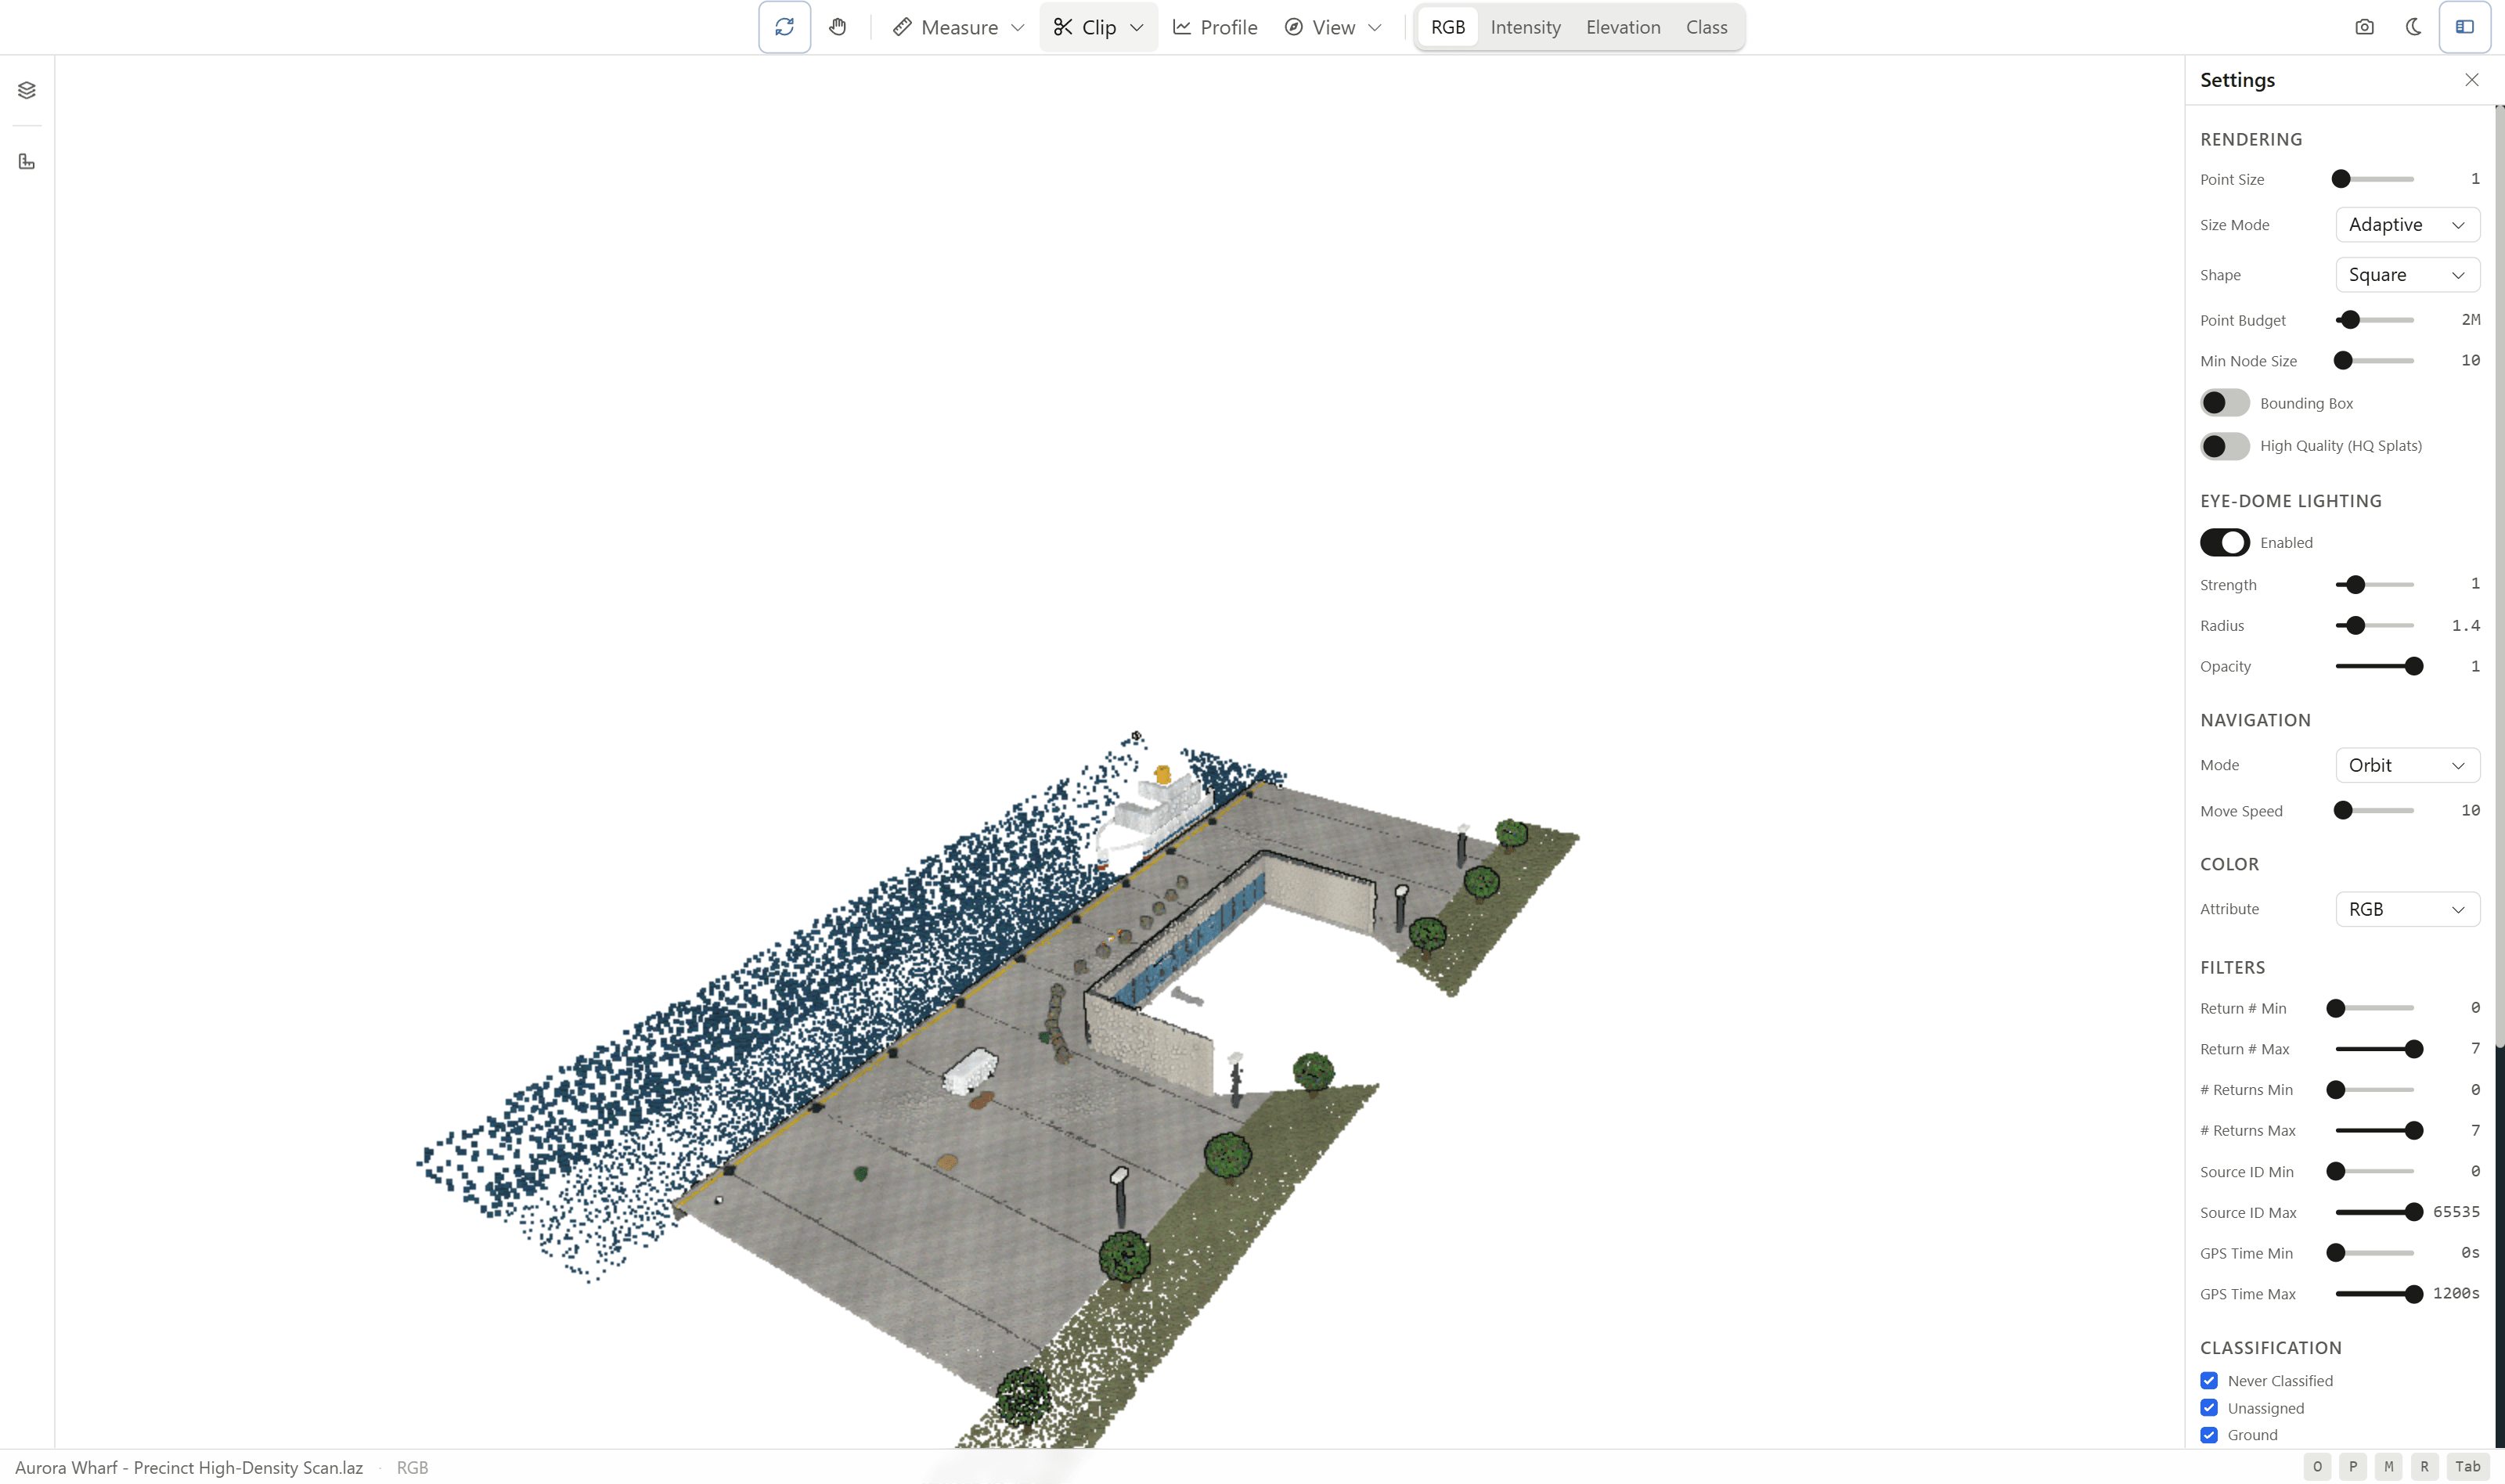
Open Settings to change how the cloud is drawn. From here you can set the point size and shape, adjust the point budget, enable Eye-Dome Lighting for a clearer sense of depth, and filter by LAS classification.
Working With Scenes
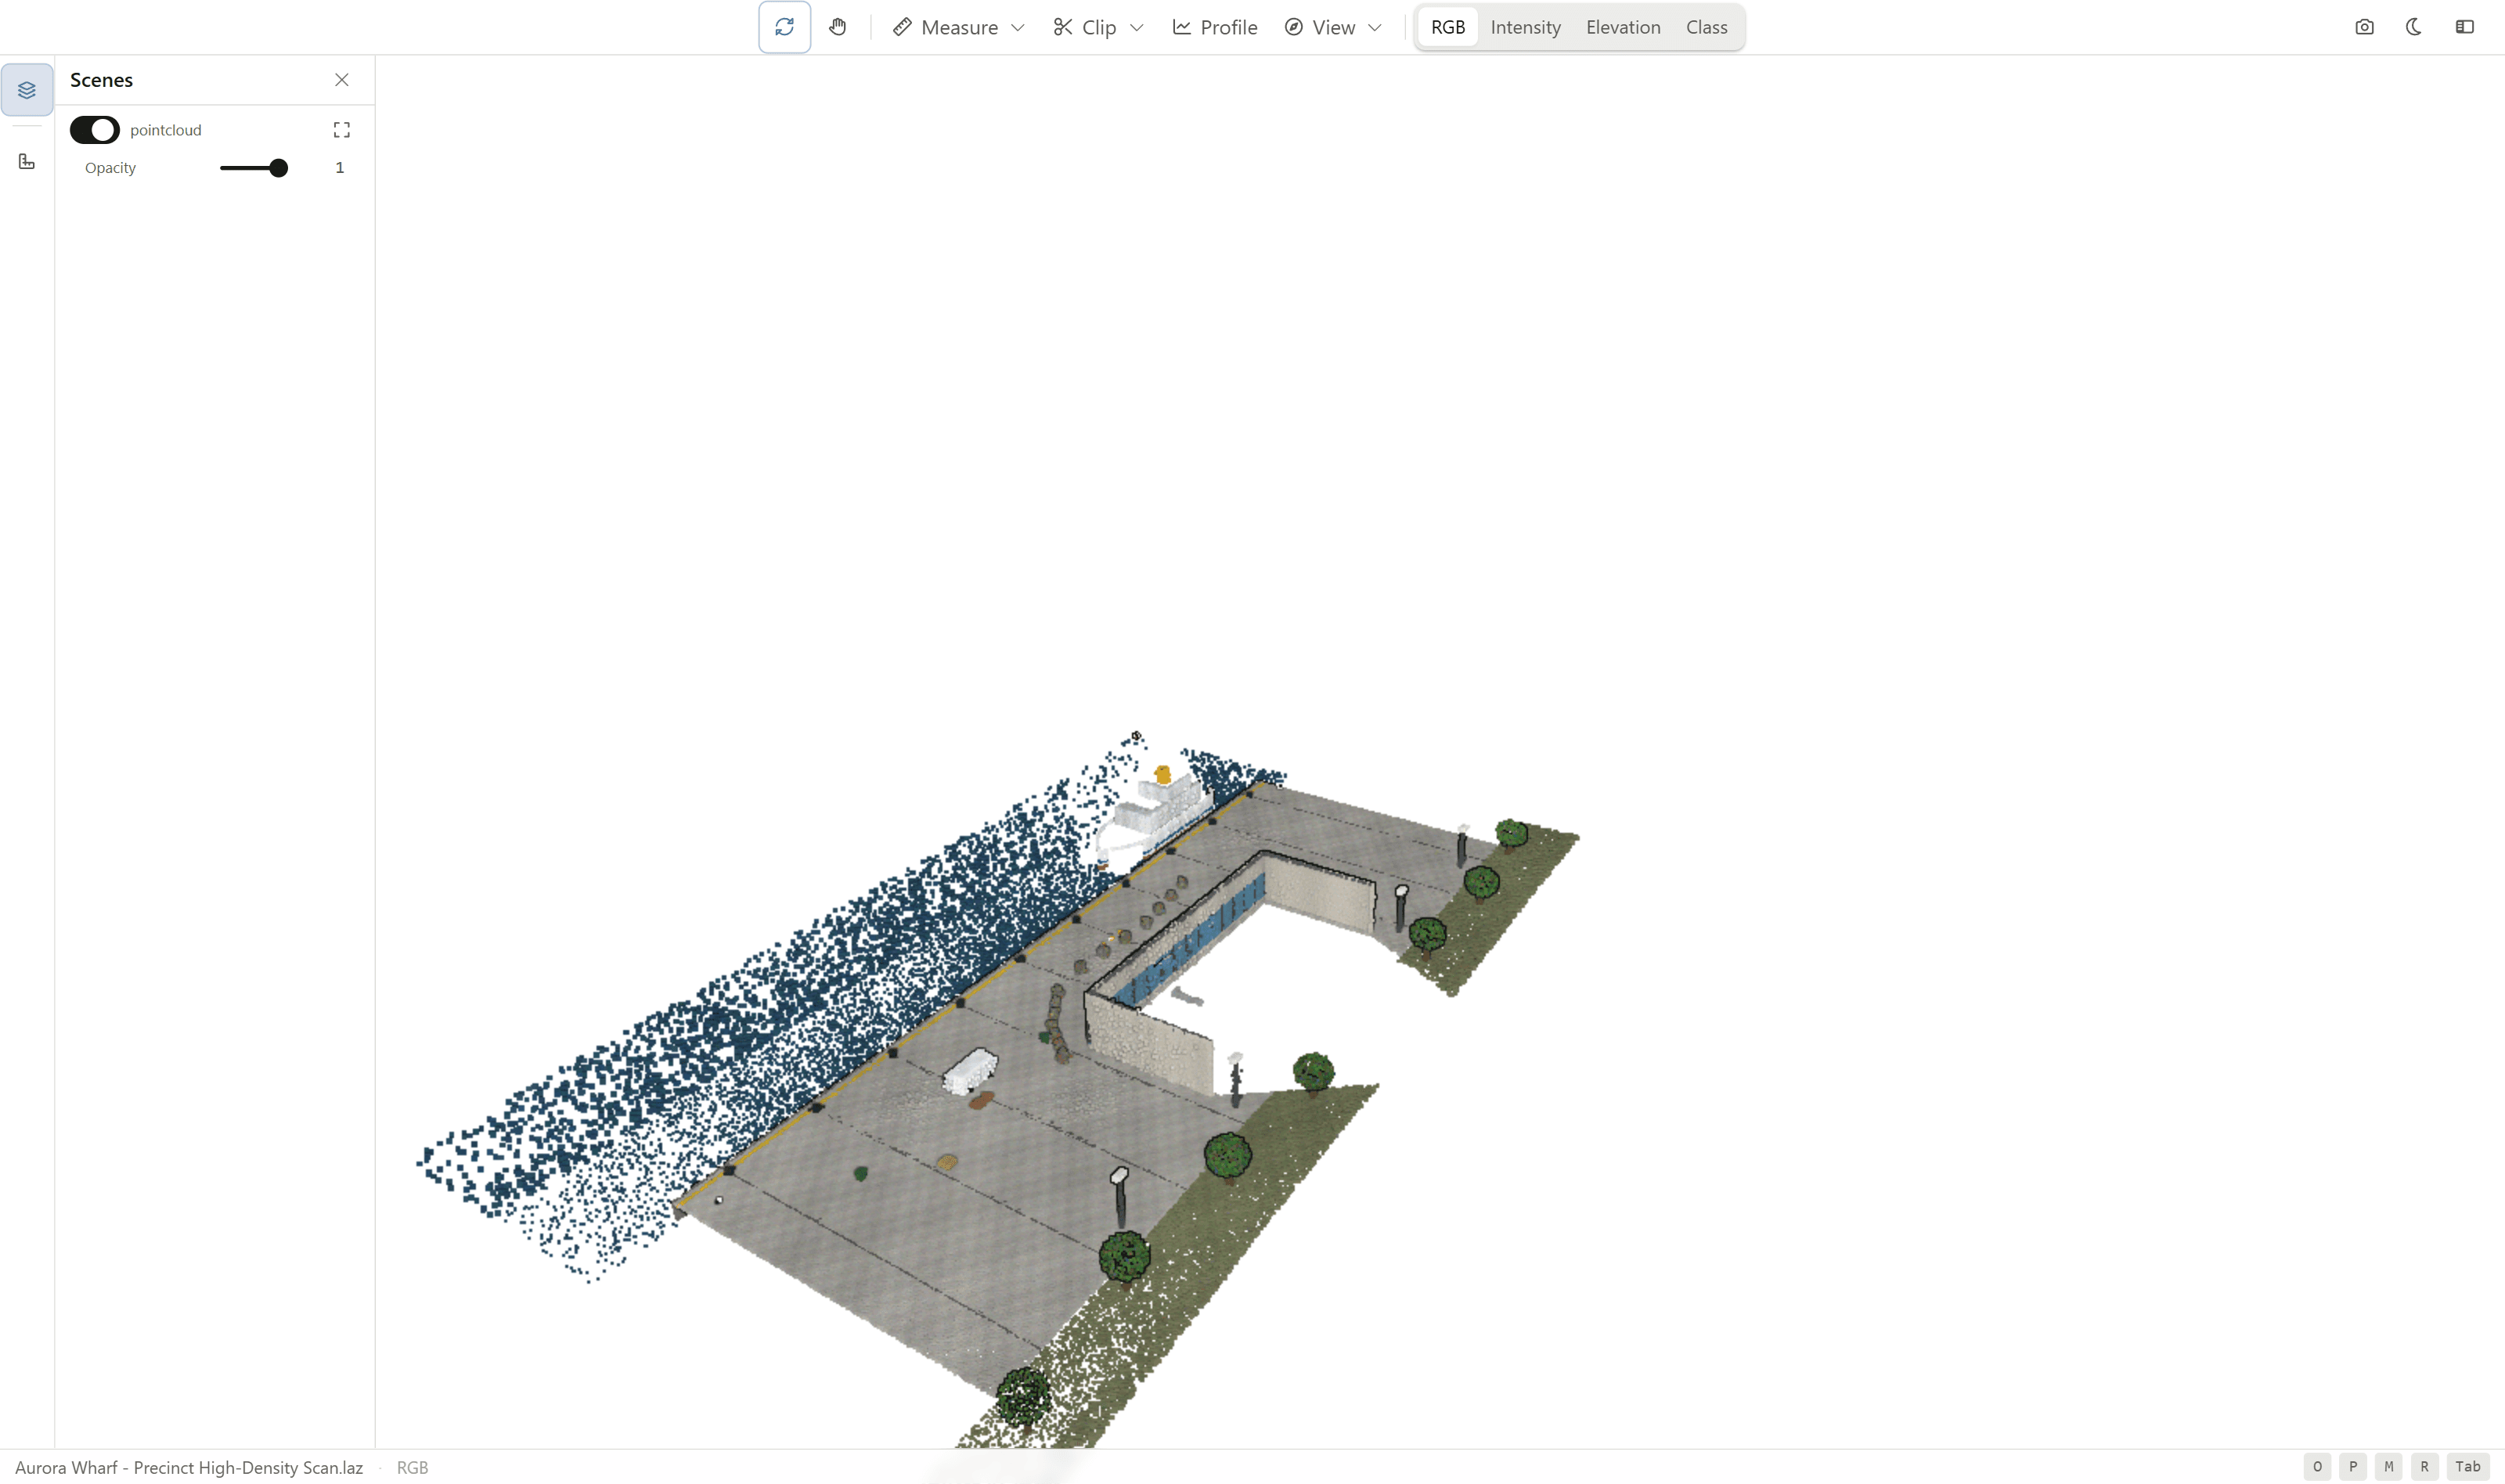
When a document contains more than one point cloud, open the Scenes panel to work with each cloud. You can toggle a cloud's visibility, adjust its opacity, and zoom to it.
Saving Viewpoints
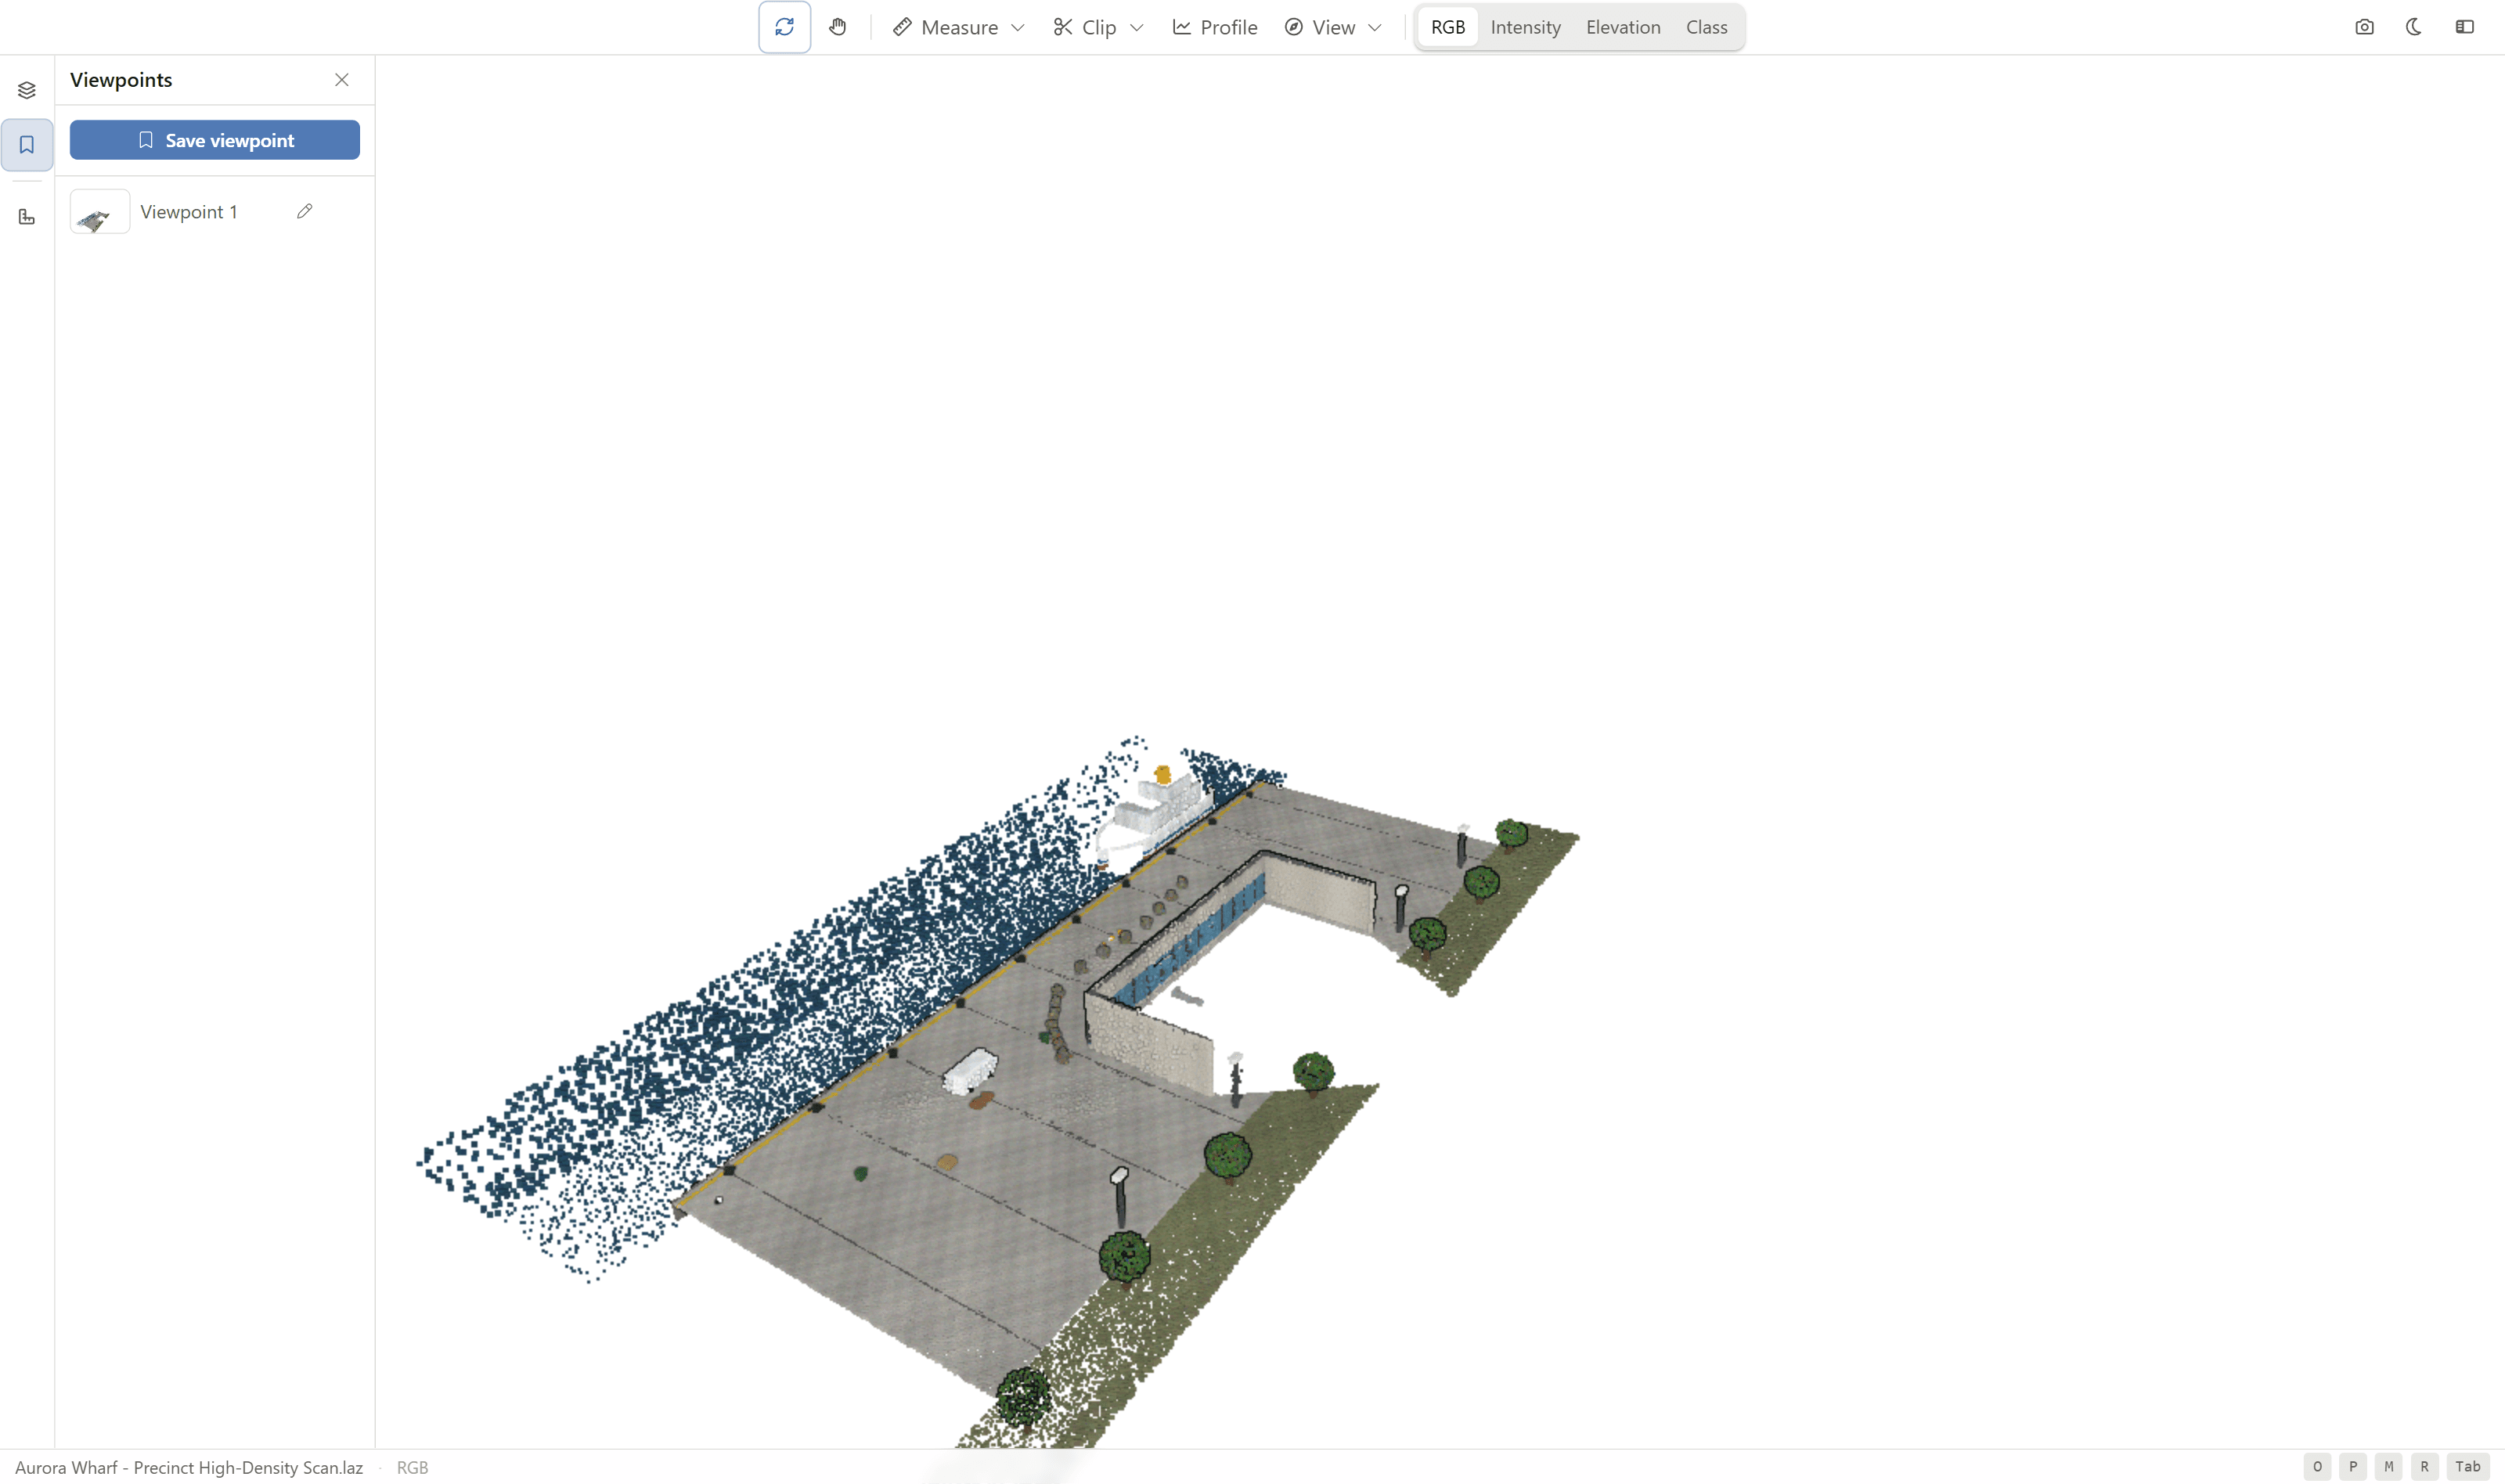
A viewpoint stores the current camera position, angle, and projection so you can return to the same framing later. Use viewpoints to keep a set of standard views of a site, or to mark the spots you want to come back to while you work.
Open the Viewpoints panel from the left rail, or press V.
To save the current view:
- Frame the cloud the way you want it.
- Open the Viewpoints panel.
- Click Save viewpoint.
The new viewpoint is added to the panel with a thumbnail of the view and a default name. Each saved viewpoint has controls to apply, rename, and delete it:
- Click the thumbnail or name to apply the viewpoint and move the camera back to that framing.
- Click the Rename button to give the viewpoint a clearer name, then press Enter.
- Click the delete button to remove the viewpoint.
You can also right-click a viewpoint in the panel to Apply, Rename, or Delete it.
Viewpoints are saved in your browser on this device, so they stay available when you reopen the document on the same computer. They are not shared with other users.
Capturing a Screenshot
Click Screenshot, or press S, to save the current view as a PNG image.
The Right-Click Menu
Right-click anywhere on the point cloud to open a menu of common actions at the cursor. A stationary right-click opens the menu, while a right-click and drag still pans and zooms the view, so navigation is unaffected.
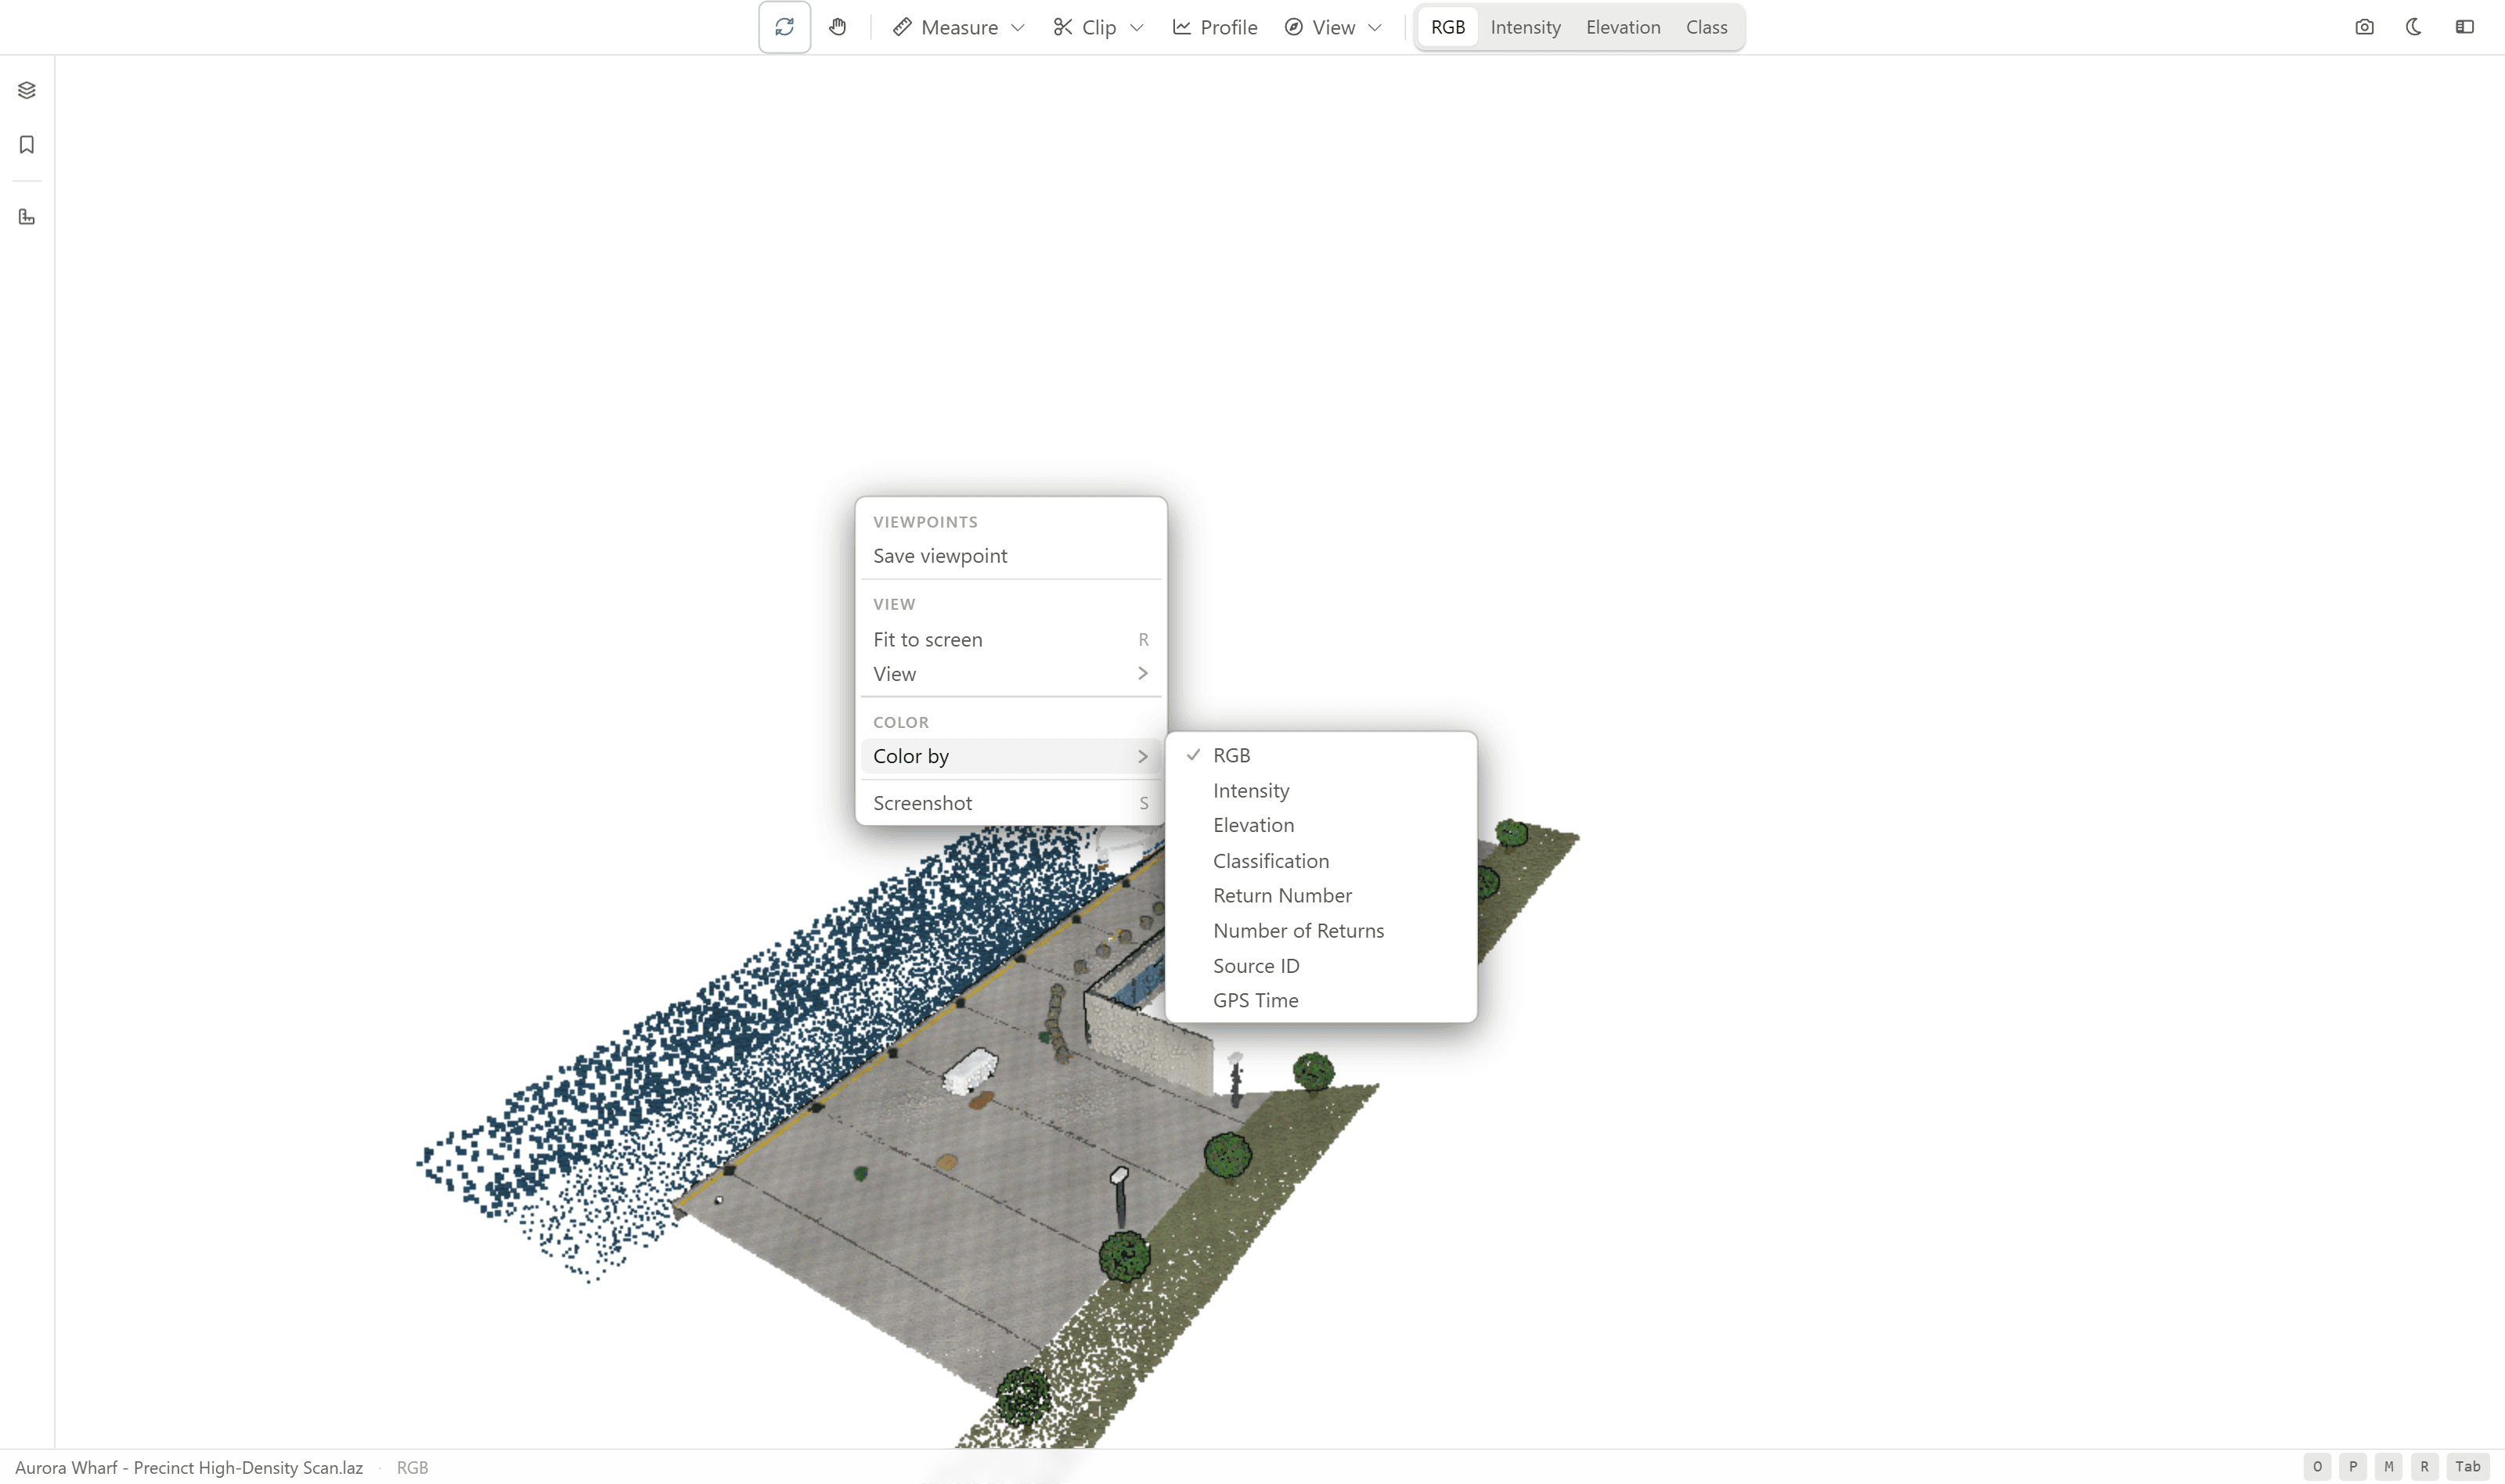
The menu gives you quick access to:
- Viewpoints to save the current view or apply a saved viewpoint.
- View to fit the cloud to the screen, jump to a preset view, or switch between the perspective and orthographic cameras.
- Color by to recolour the points by attribute.
- Screenshot to save the current view as an image.
Keyboard Shortcuts
- O - Orbit
- P - Pan
- M - Measure distance
- C - Clip volume
- R - Reset view
- S - Screenshot
- V - Toggle the Viewpoints panel
- L - Toggle the Scenes panel
- Tab - Toggle Settings
- 1 to 4 - Colour by RGB, Intensity, Elevation, or Classification
- T - Toggle theme
BIM Models
View and explore IFC, Navisworks, and Revit building models in Lunr's browser-based 3D viewer, with tools for navigation, measurement, sectioning, model inspection, clash detection, and scene management.
Introduction
Organise documents, change requests, and other work by project, covering the projects list, searching and filtering it, and favouriting the projects you use most.