Entra SSO Setup
Register and configure an application in Microsoft Entra ID so users can sign in to Lunr with single sign-on (SSO) using OpenID Connect.
Overview
OpenID Connect (OIDC) is the preferred SSO integration method for Lunr. This page describes how to register and configure an application in Microsoft Entra ID so that users can sign in to Lunr with SSO.
You complete the steps in the Microsoft Entra admin portal. At the end, you send three values to your nominated Lunr contact: the client secret, the application ID, and the tenant ID.
Users who sign in this way appear in Lunr with an SSO badge. See Users and Groups.
Register an Application
- Sign in to the Microsoft Entra admin portal and select the App registrations blade.
- Register a new application. Name it Lunr SSO, or follow your company's naming standards.
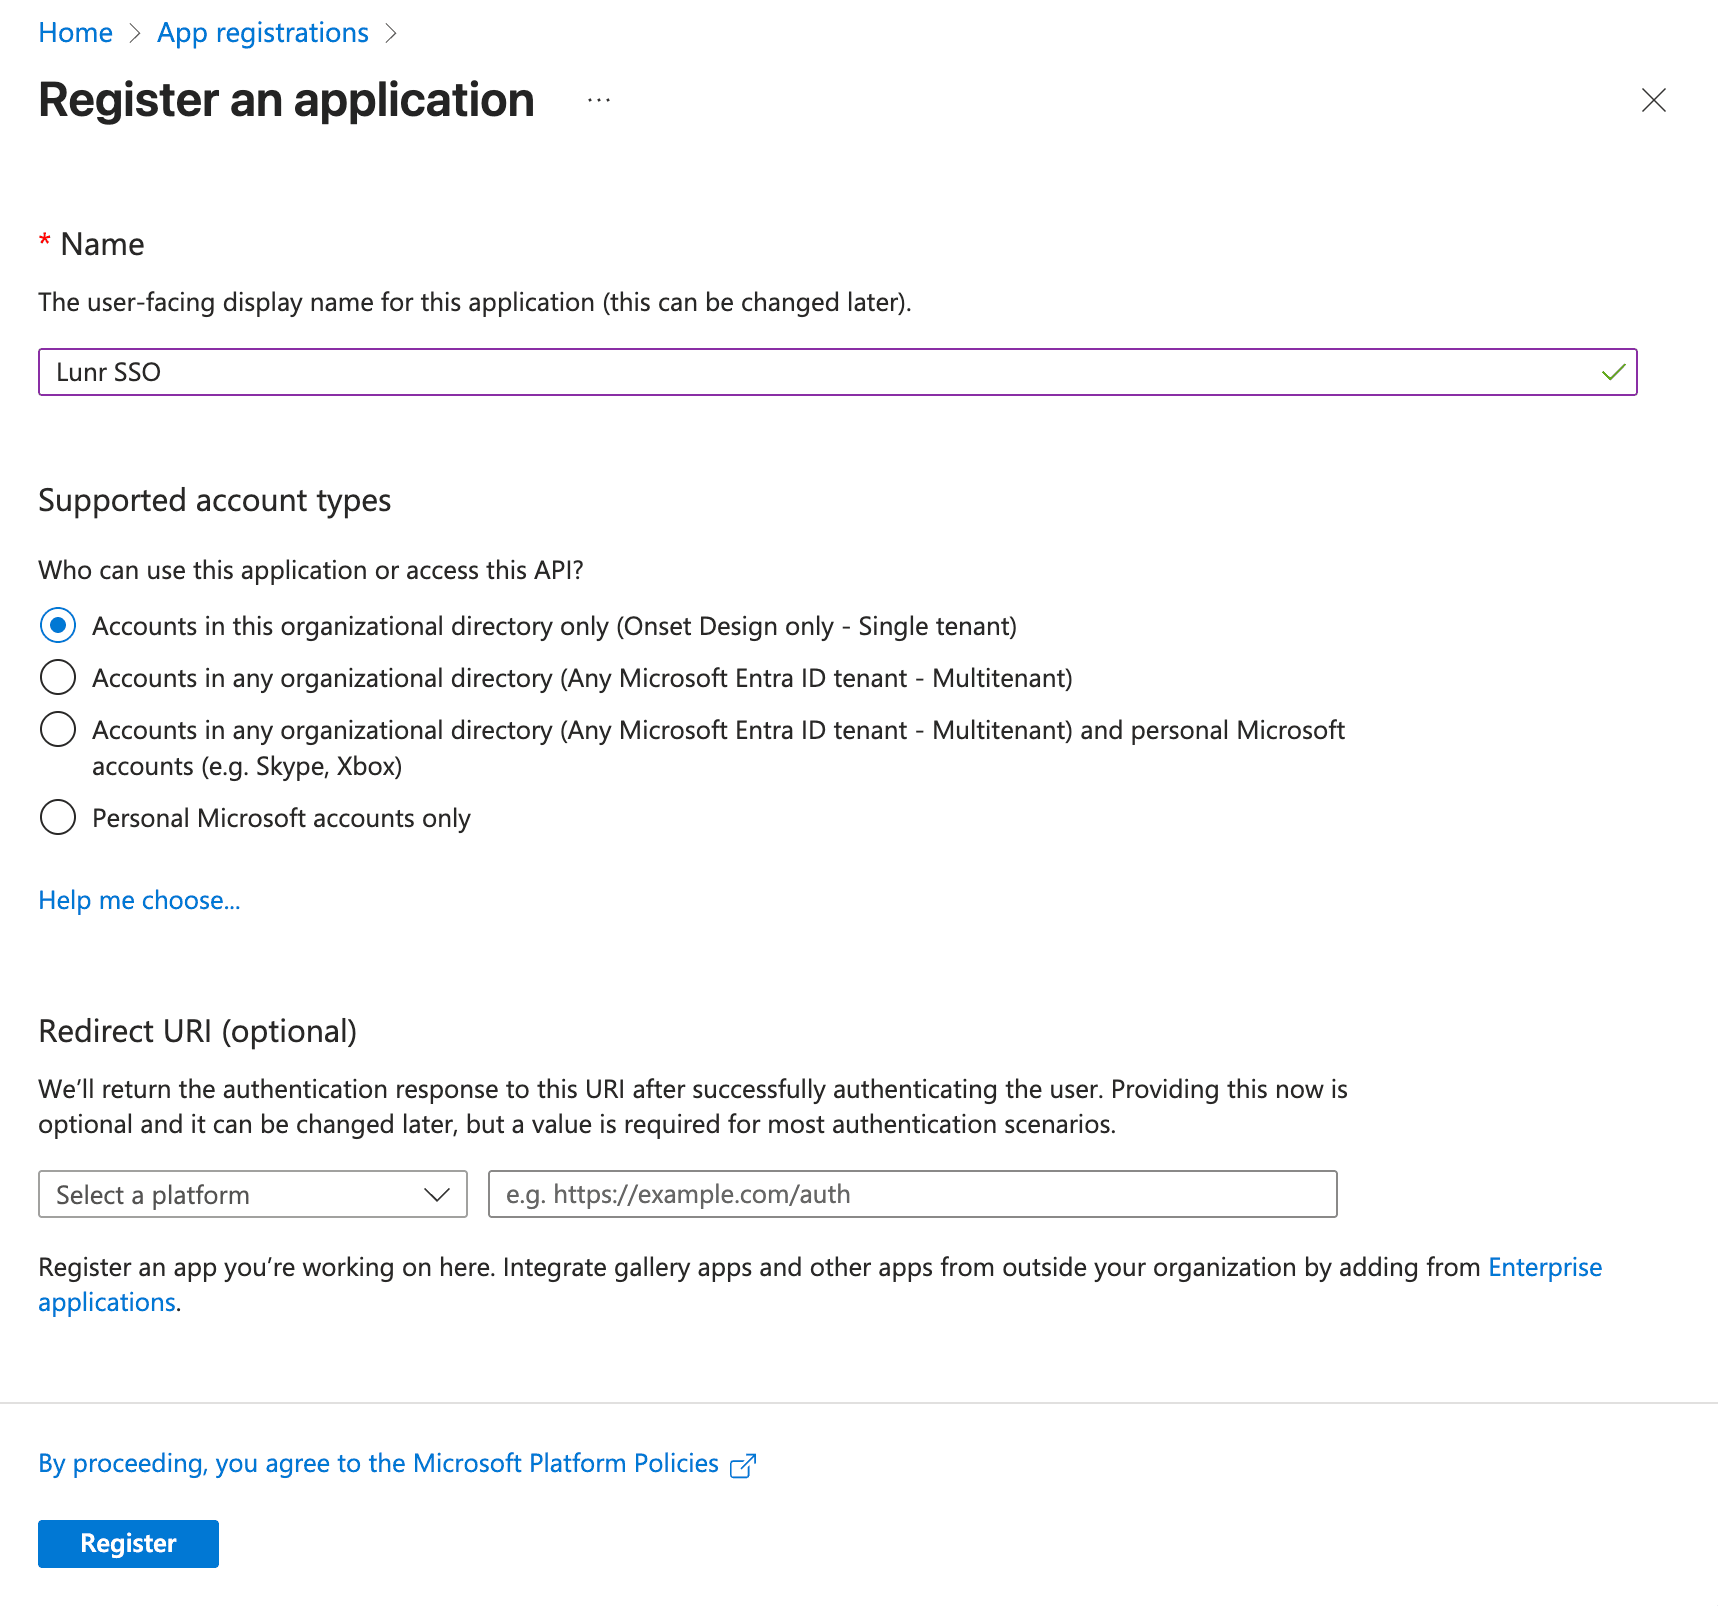
Configure Redirect URIs
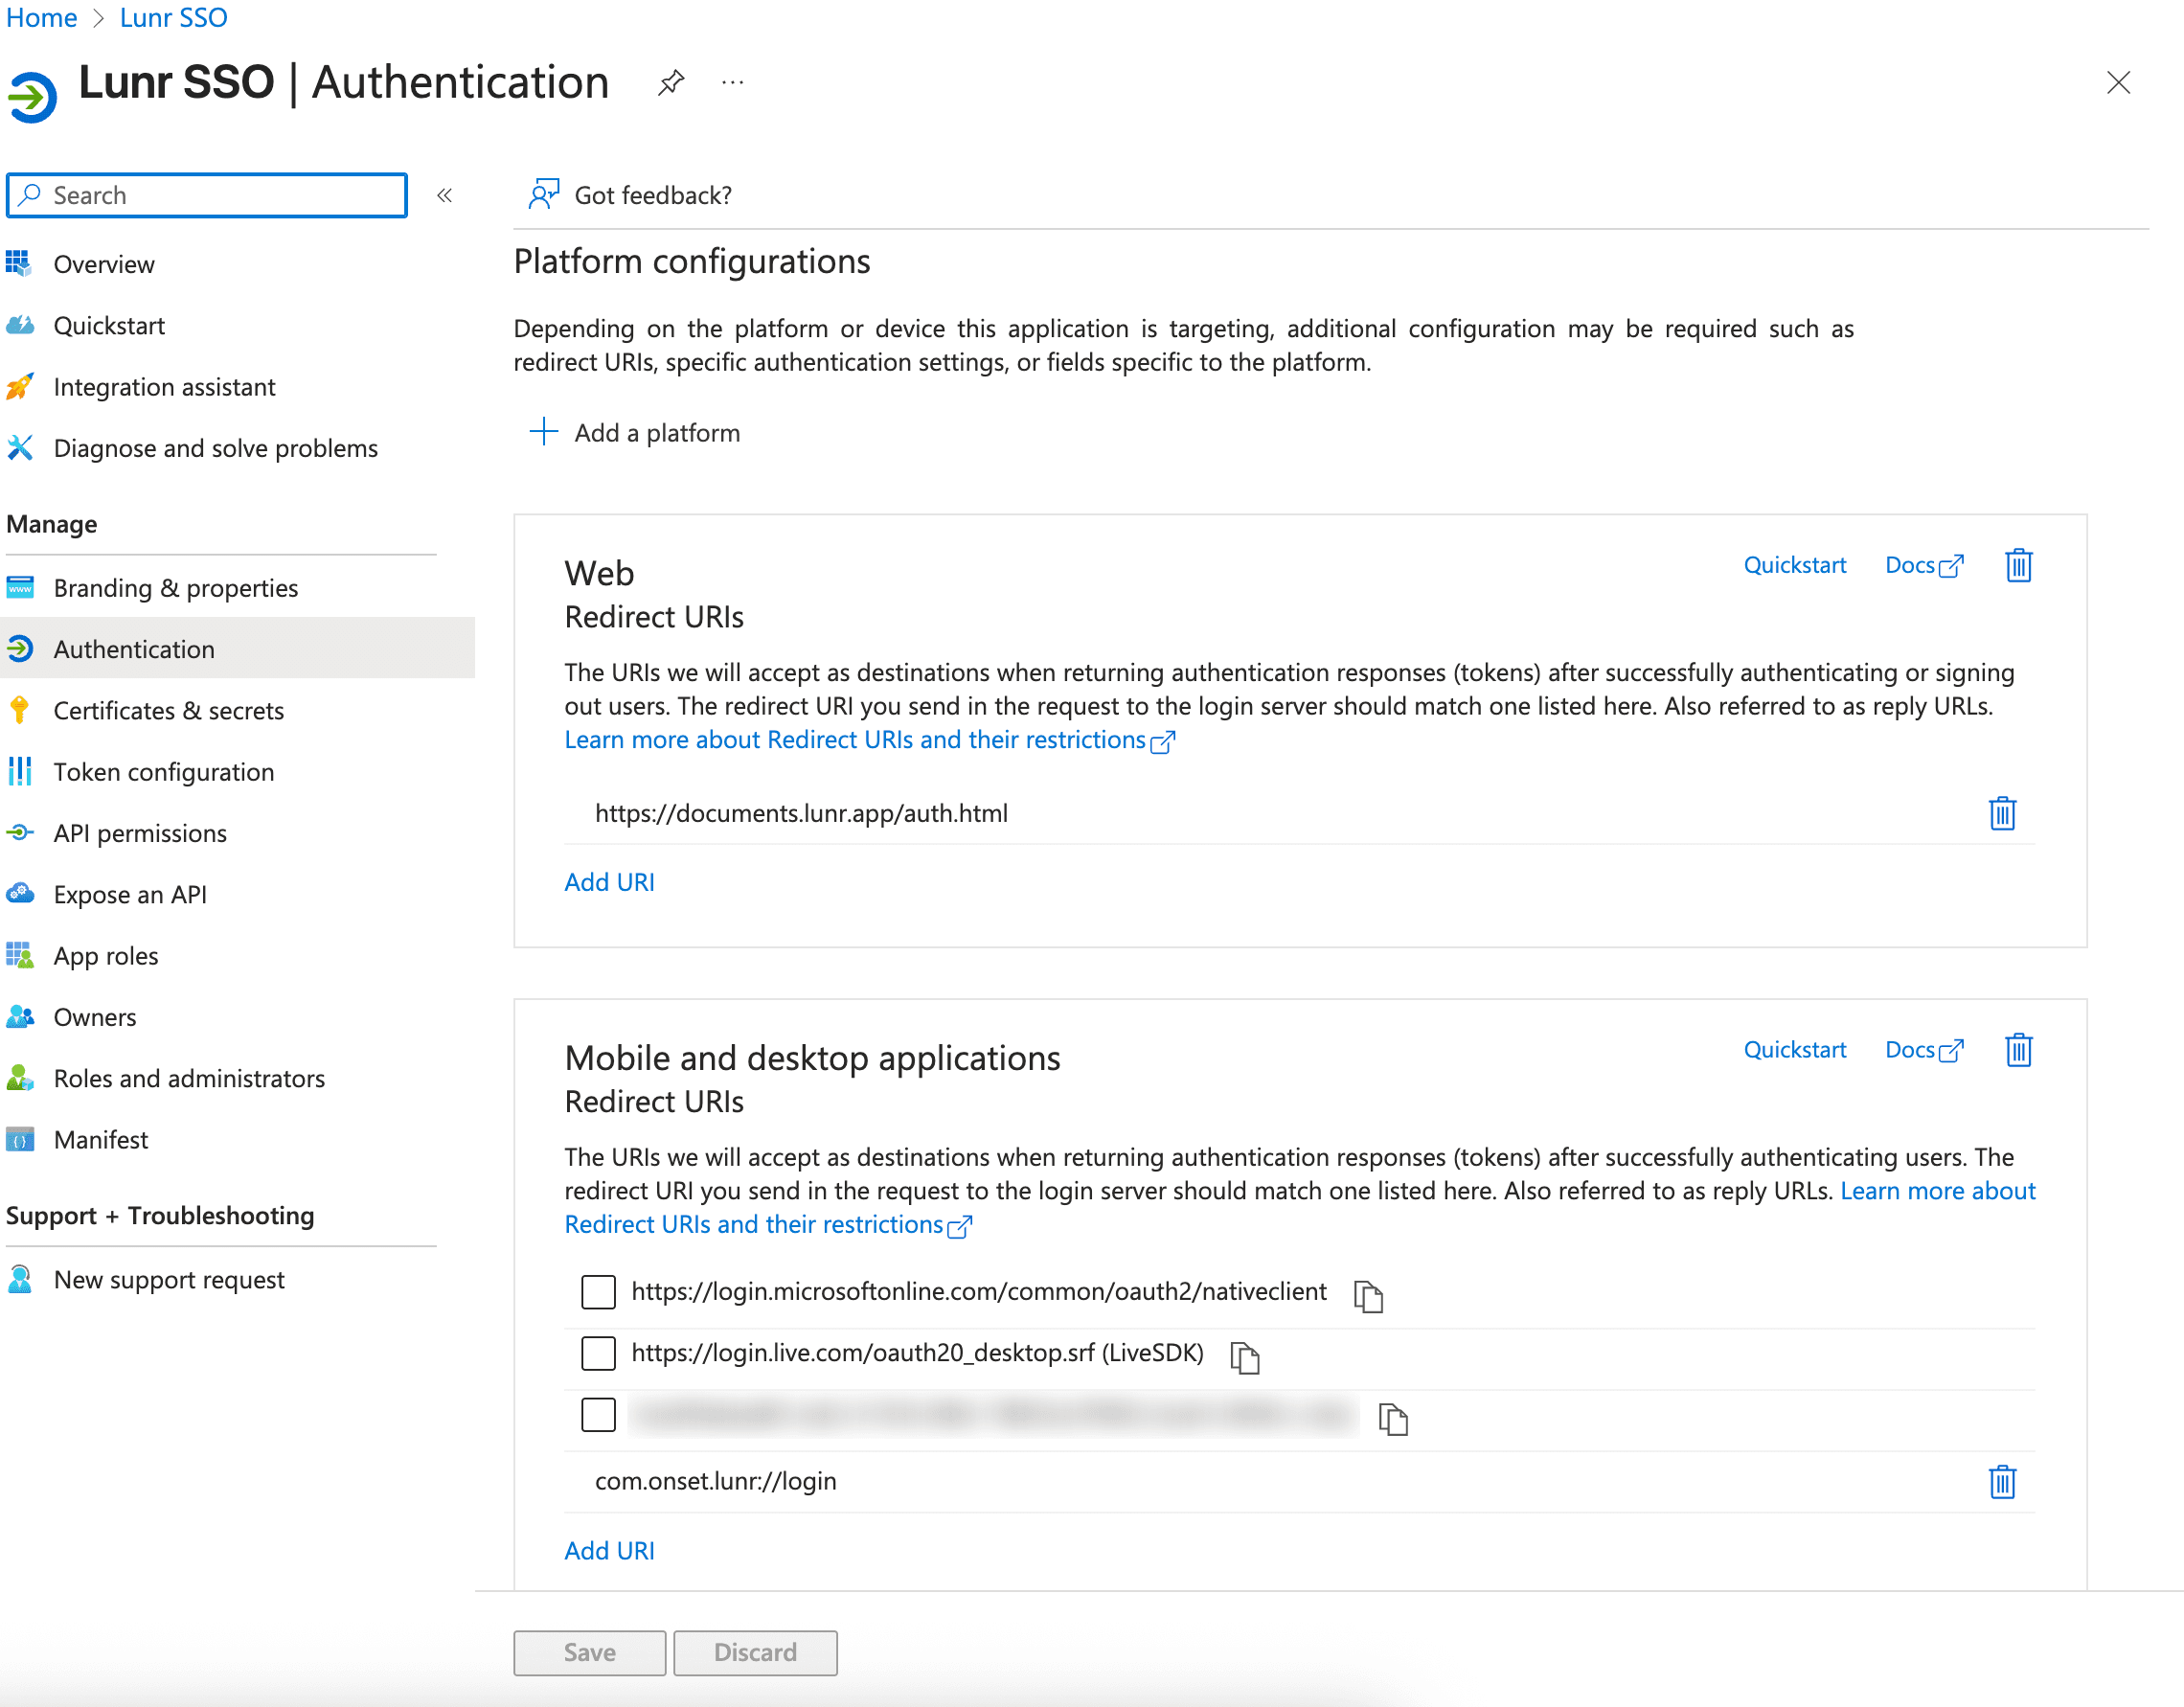
In the Lunr SSO application, select the Authentication blade, then configure these redirect URIs for each Lunr environment and platform.
| Lunr environment | Platform | Redirect URI |
|---|---|---|
| Staging | Web | https://documents-stg.lunr.app/auth.html |
| Staging | Mobile and desktop applications | com.onset.lunr.preview://login |
| Production | Web | https://documents.lunr.app/auth.html |
| Production | Mobile and desktop applications | com.onset.lunr://login |
This screenshot shows the redirect URIs configured for the Lunr production environment.
Create App Roles
App roles are configured on the Entra ID application. They set the default Lunr group or role of each user who signs in with SSO, so Entra must pass these roles to Lunr each time a user signs in.
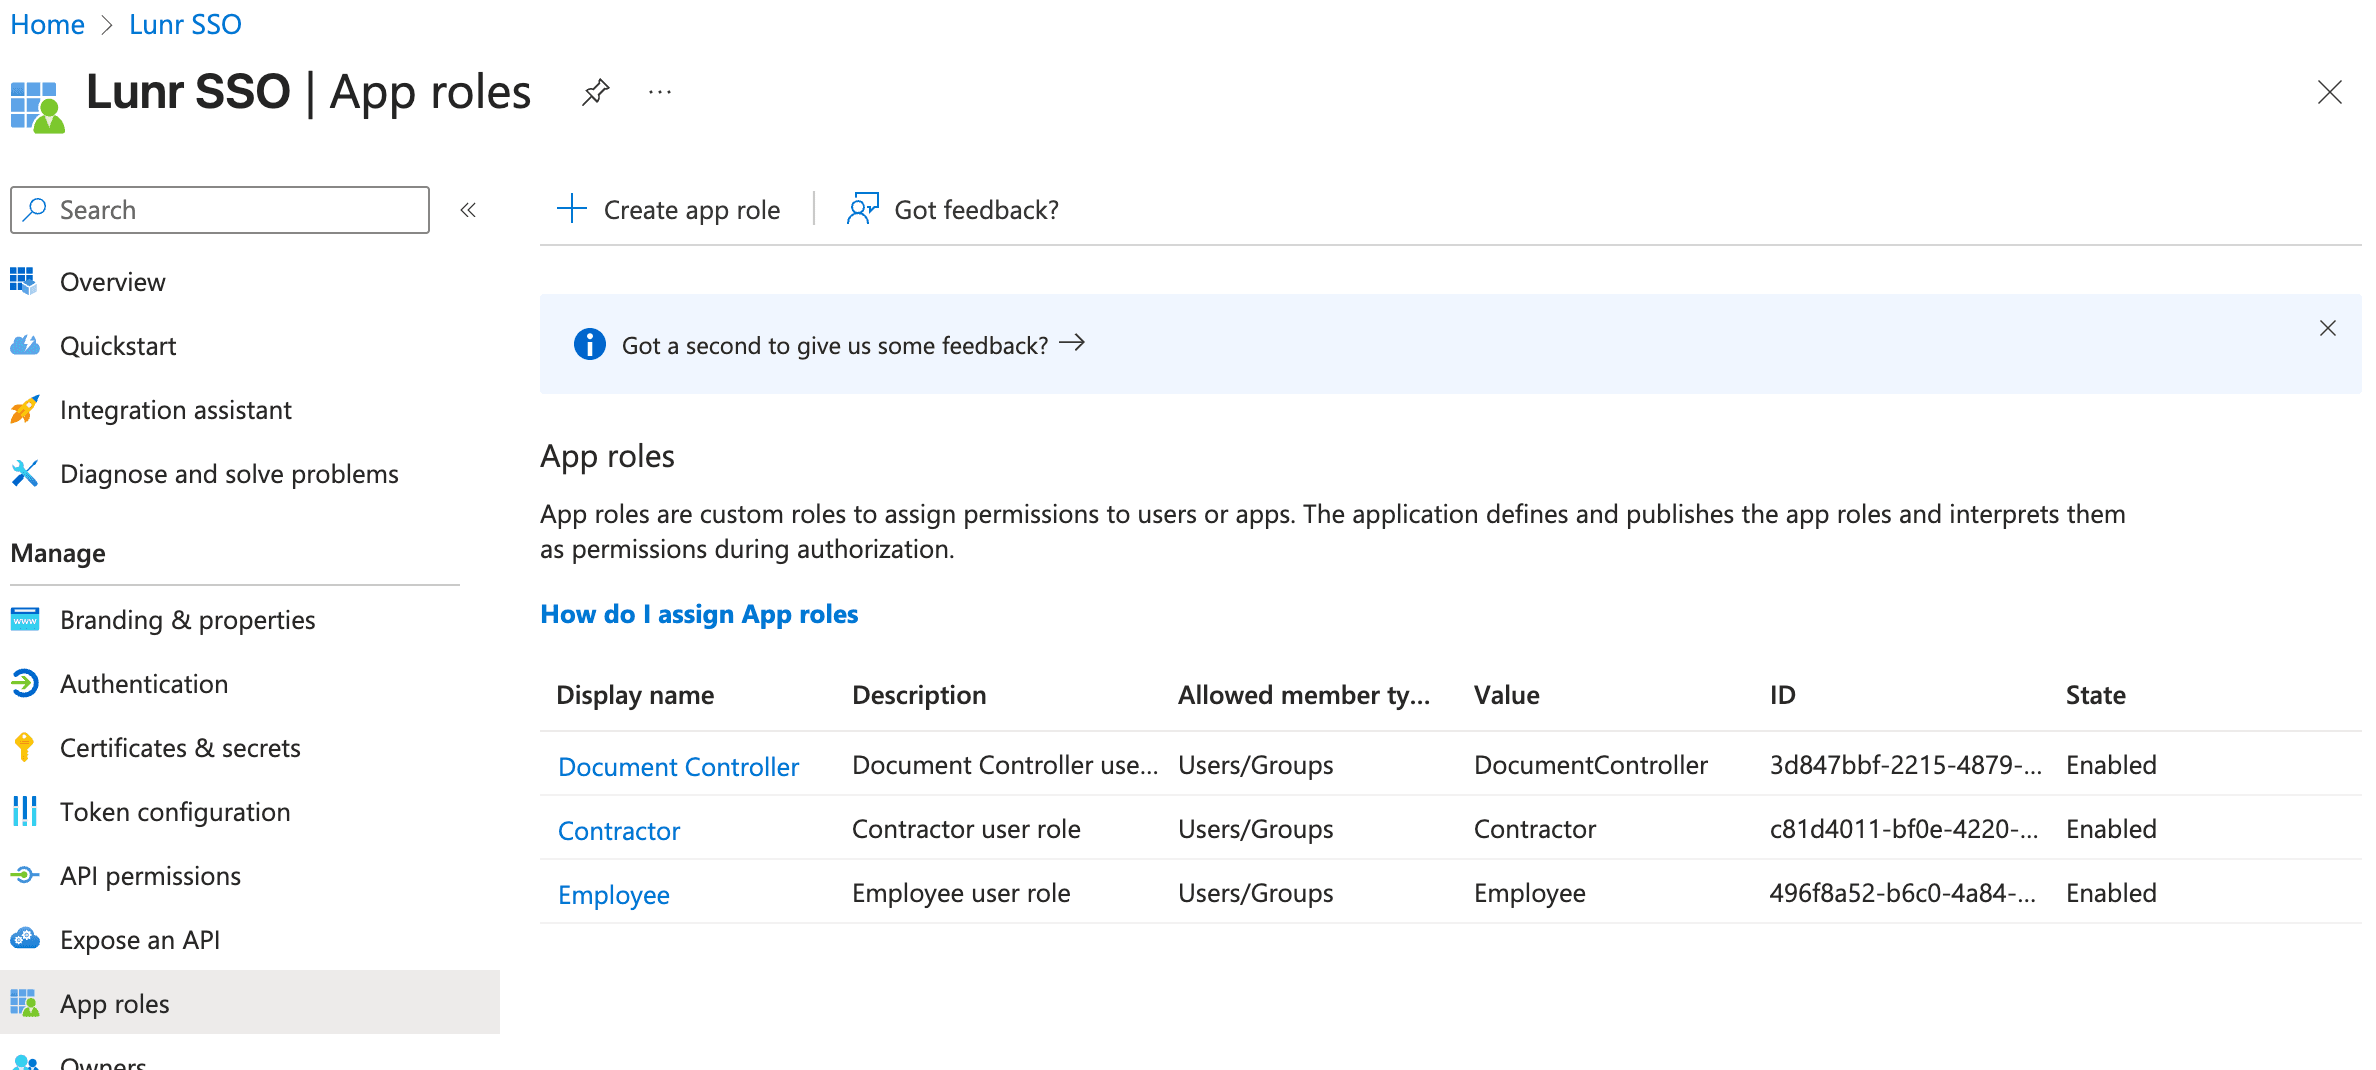
In the Lunr SSO application, select the App roles blade, then create these app roles as a starting point. Further app roles are determined during the solution design phase of your project.
| Display name | Allowed member types | Value | Description |
|---|---|---|---|
| Contractor | Users/Groups | Contractor | Contractor user role |
| Document Controller | Users/Groups | DocumentController | Document Controller user role |
| Employee | Users/Groups | Employee | Employee user role |
Add Users and Groups
Users must be added to the Entra ID application before they can sign in to Lunr with SSO. When you add a user or group, also assign an app role, so the user receives the matching group or role in Lunr when they sign in.
- In the Microsoft Entra admin portal, select the Enterprise apps blade.
- Search for and open the Lunr SSO application.
- Select the Users and groups blade.
- Add the users and groups, and assign an app role to each.
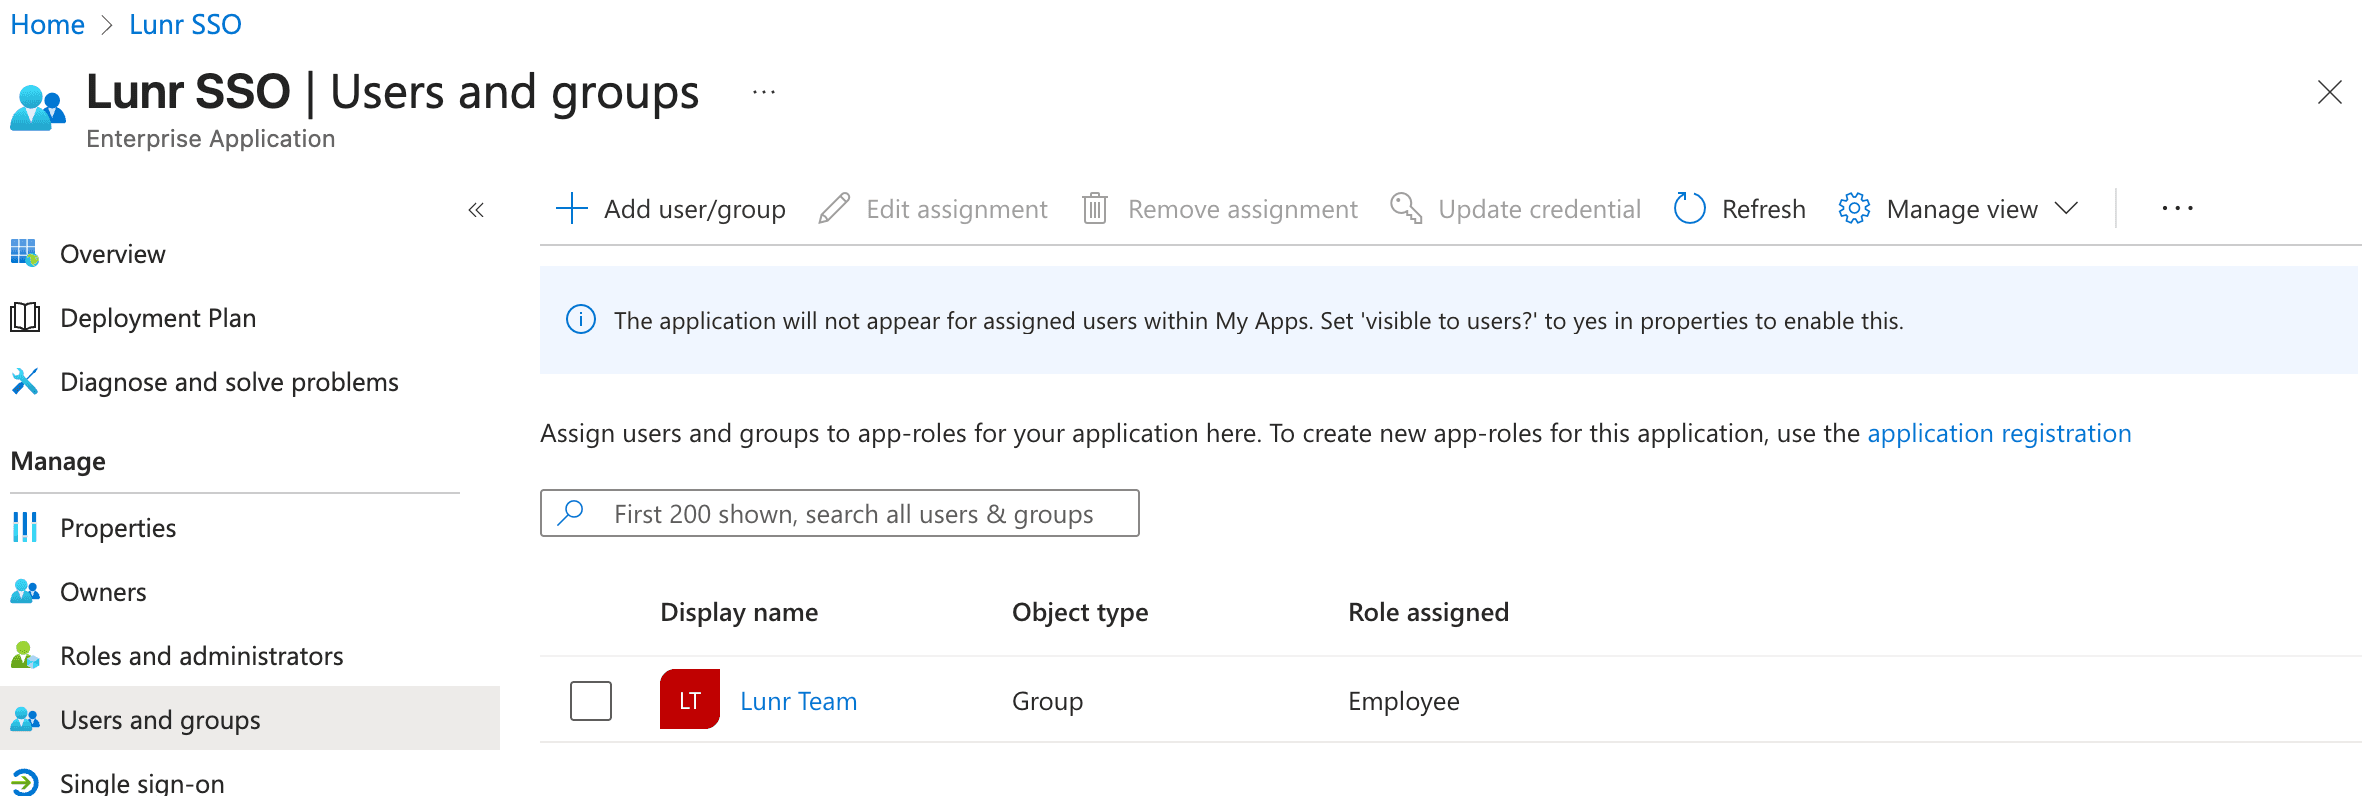
A generic Entra group created for testing is enough to confirm that SSO works. Further groups are determined during the solution design phase of your project.
Lunr does not support nested AD groups.
Create a Client Secret
- In the Lunr SSO application, select the Certificates & secrets blade.
- Select New client secret and create the secret. Consult your cybersecurity team to choose an appropriate expiry.
- Copy the secret from the Value column and send it securely to your nominated contact.
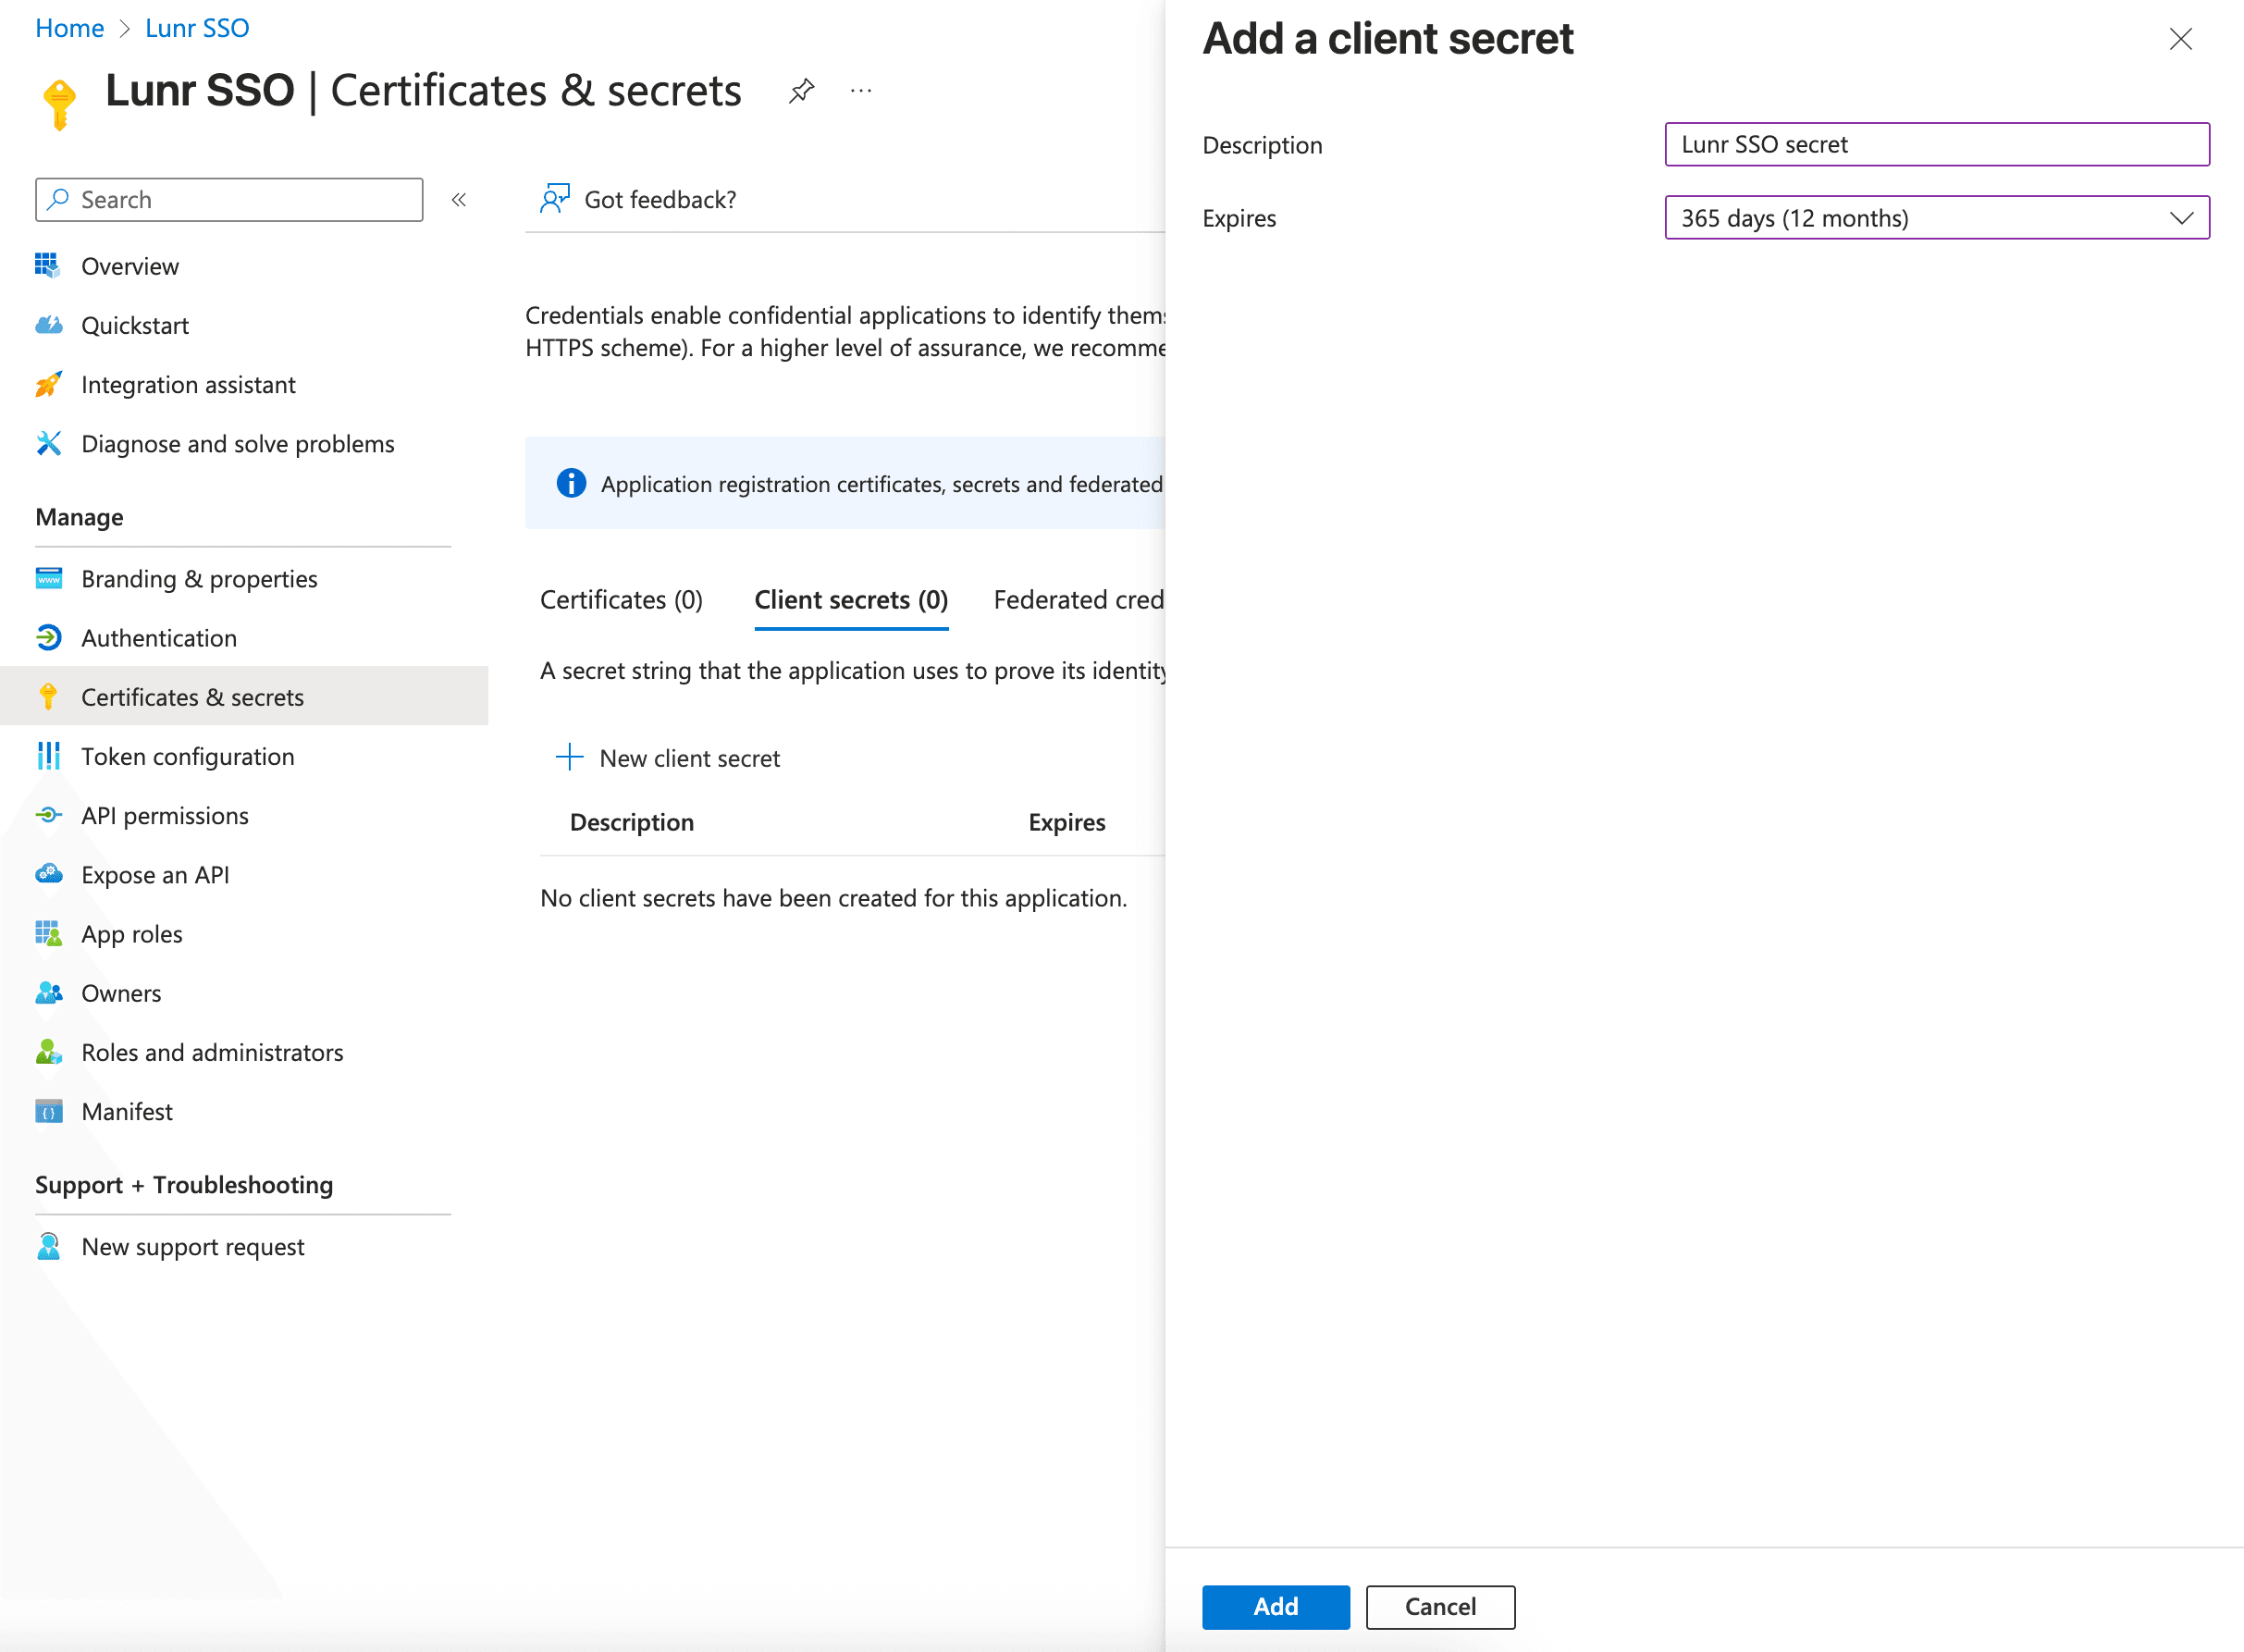
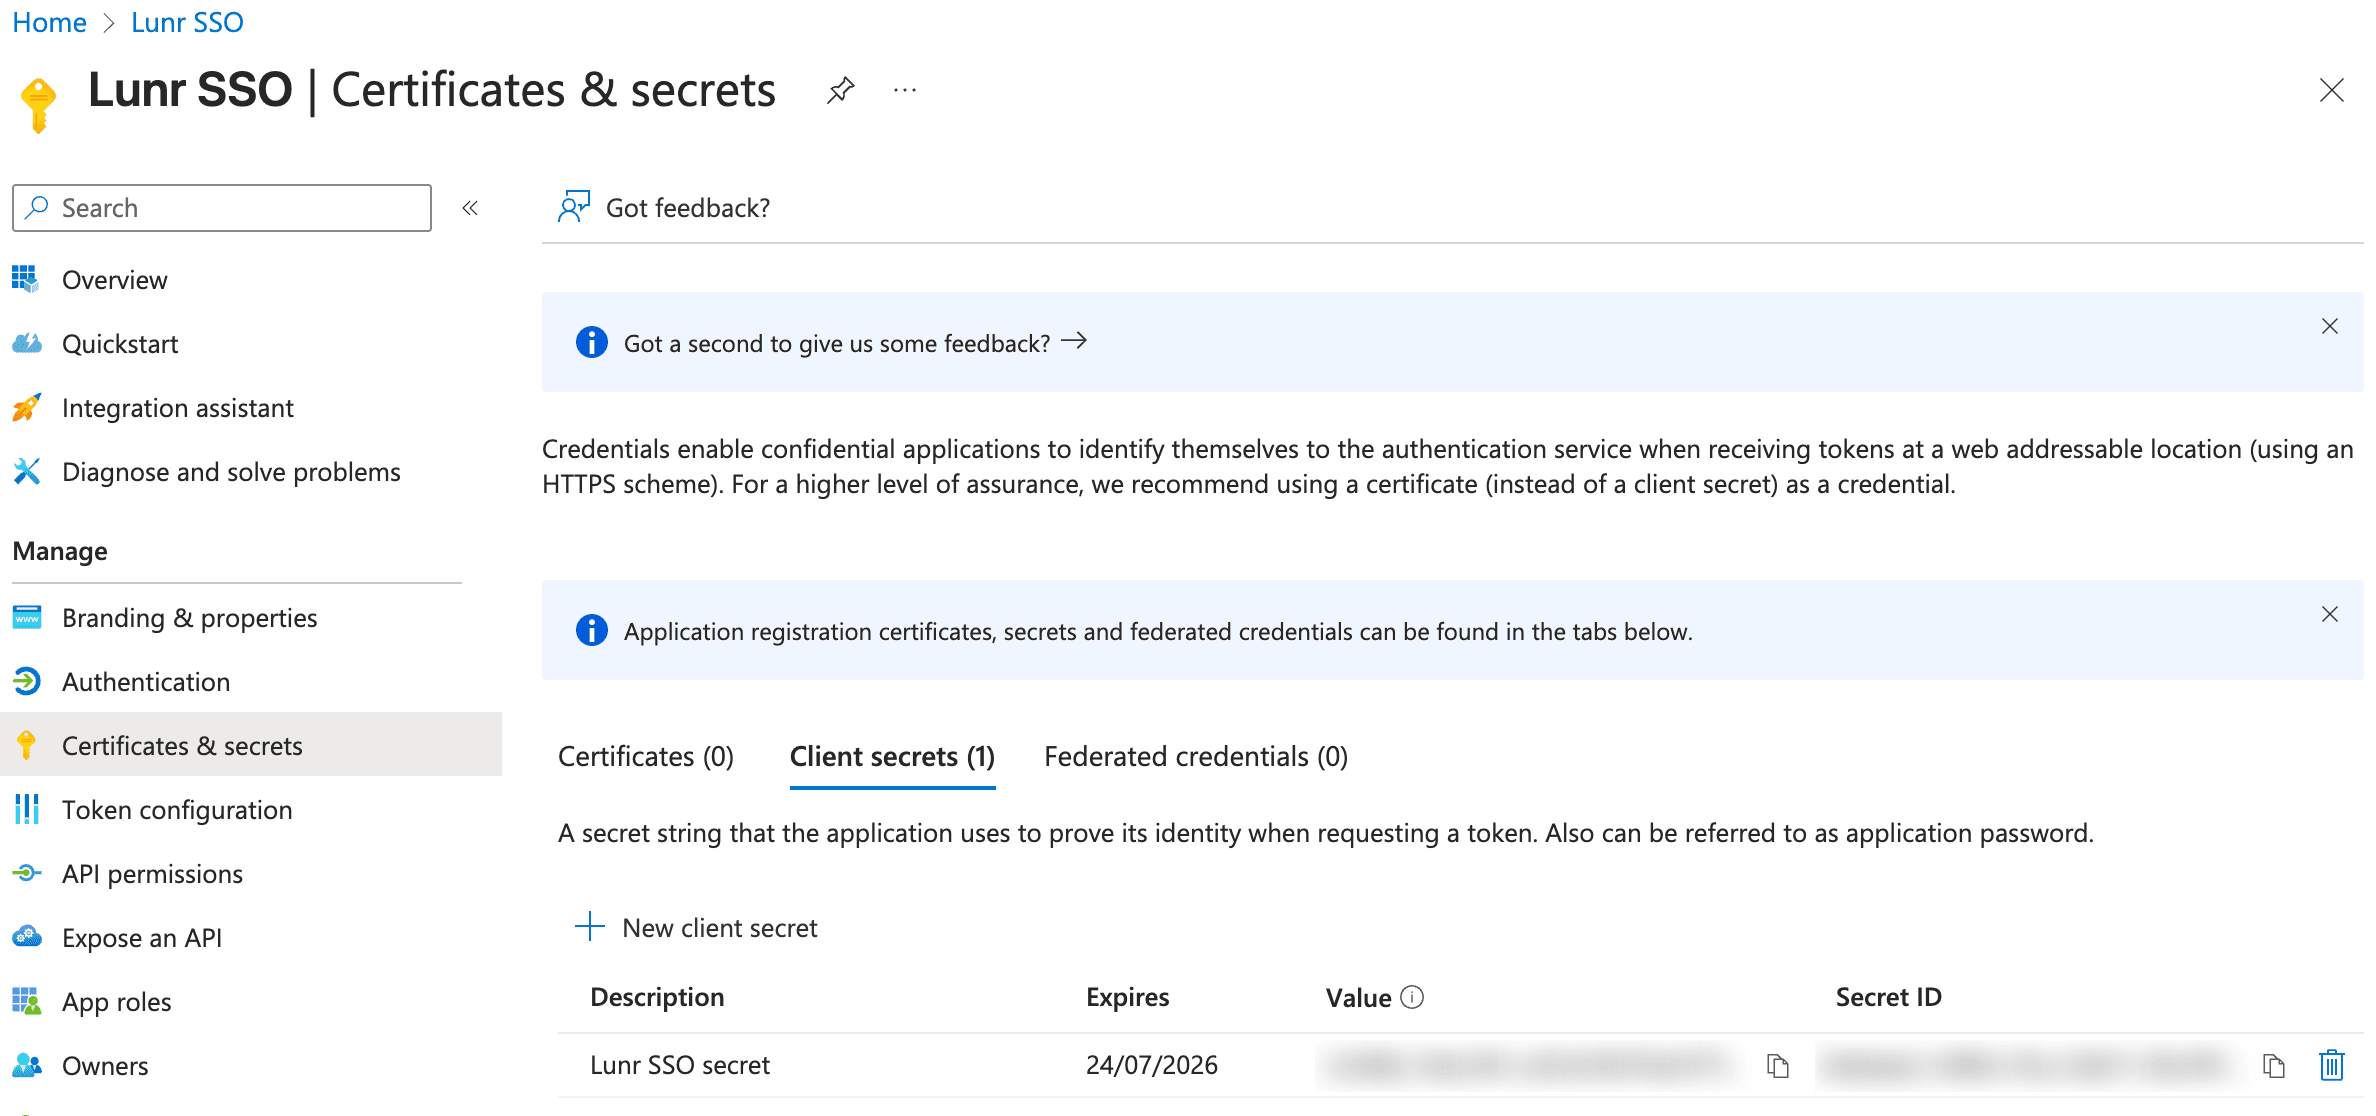
Entra shows the full secret value only once, straight after you create it. Copy it before you leave the page. Create a new secret before the current one expires, and send the new value to your nominated contact, because SSO sign-in stops working once the secret expires.
Copy the Application ID
In the Lunr SSO application, select the Overview blade, then copy the Application (client) ID and send it to your nominated contact.
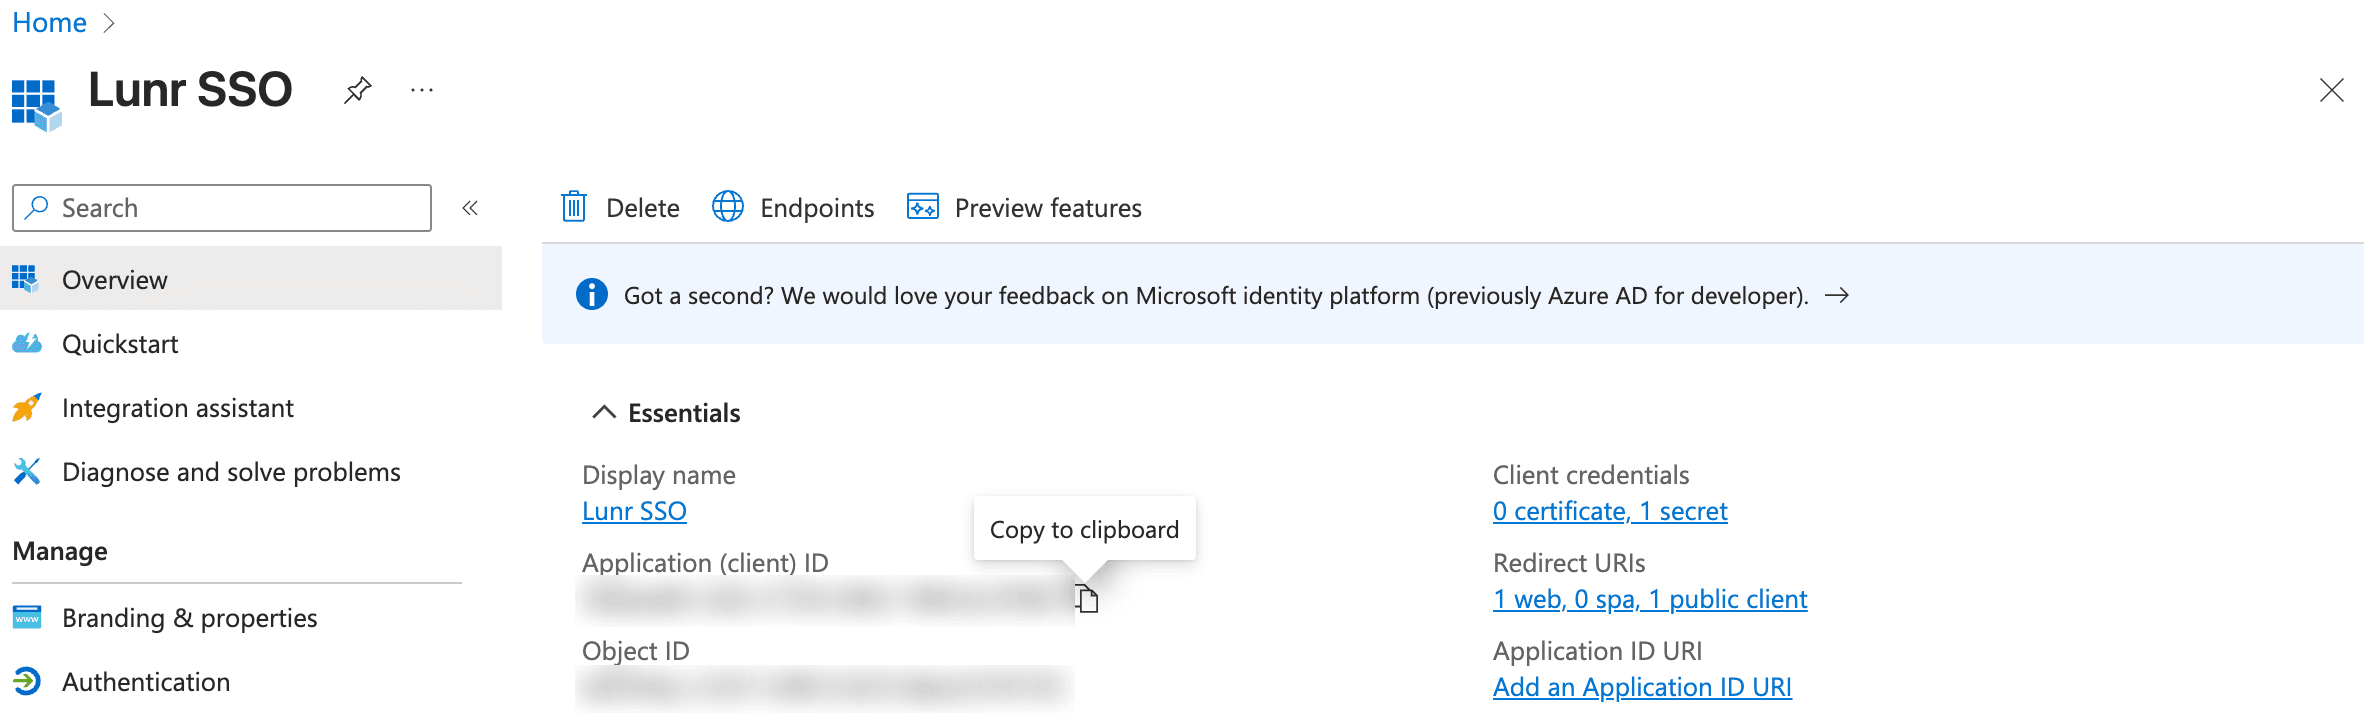
Copy the Tenant ID
On the same Overview blade, copy the Tenant ID and send it to your nominated contact. Microsoft's documentation sometimes calls this the Directory ID.
Groups
Group users with similar responsibilities, assign the roles that determine what members can do, control which document repositories a group can access, and manage a group's membership and RFI visibility settings in Lunr.
Roles
Define the bundles of access rights that determine what users can do in Lunr, assign them to groups, and look up every access right Lunr offers, grouped by the area it governs.